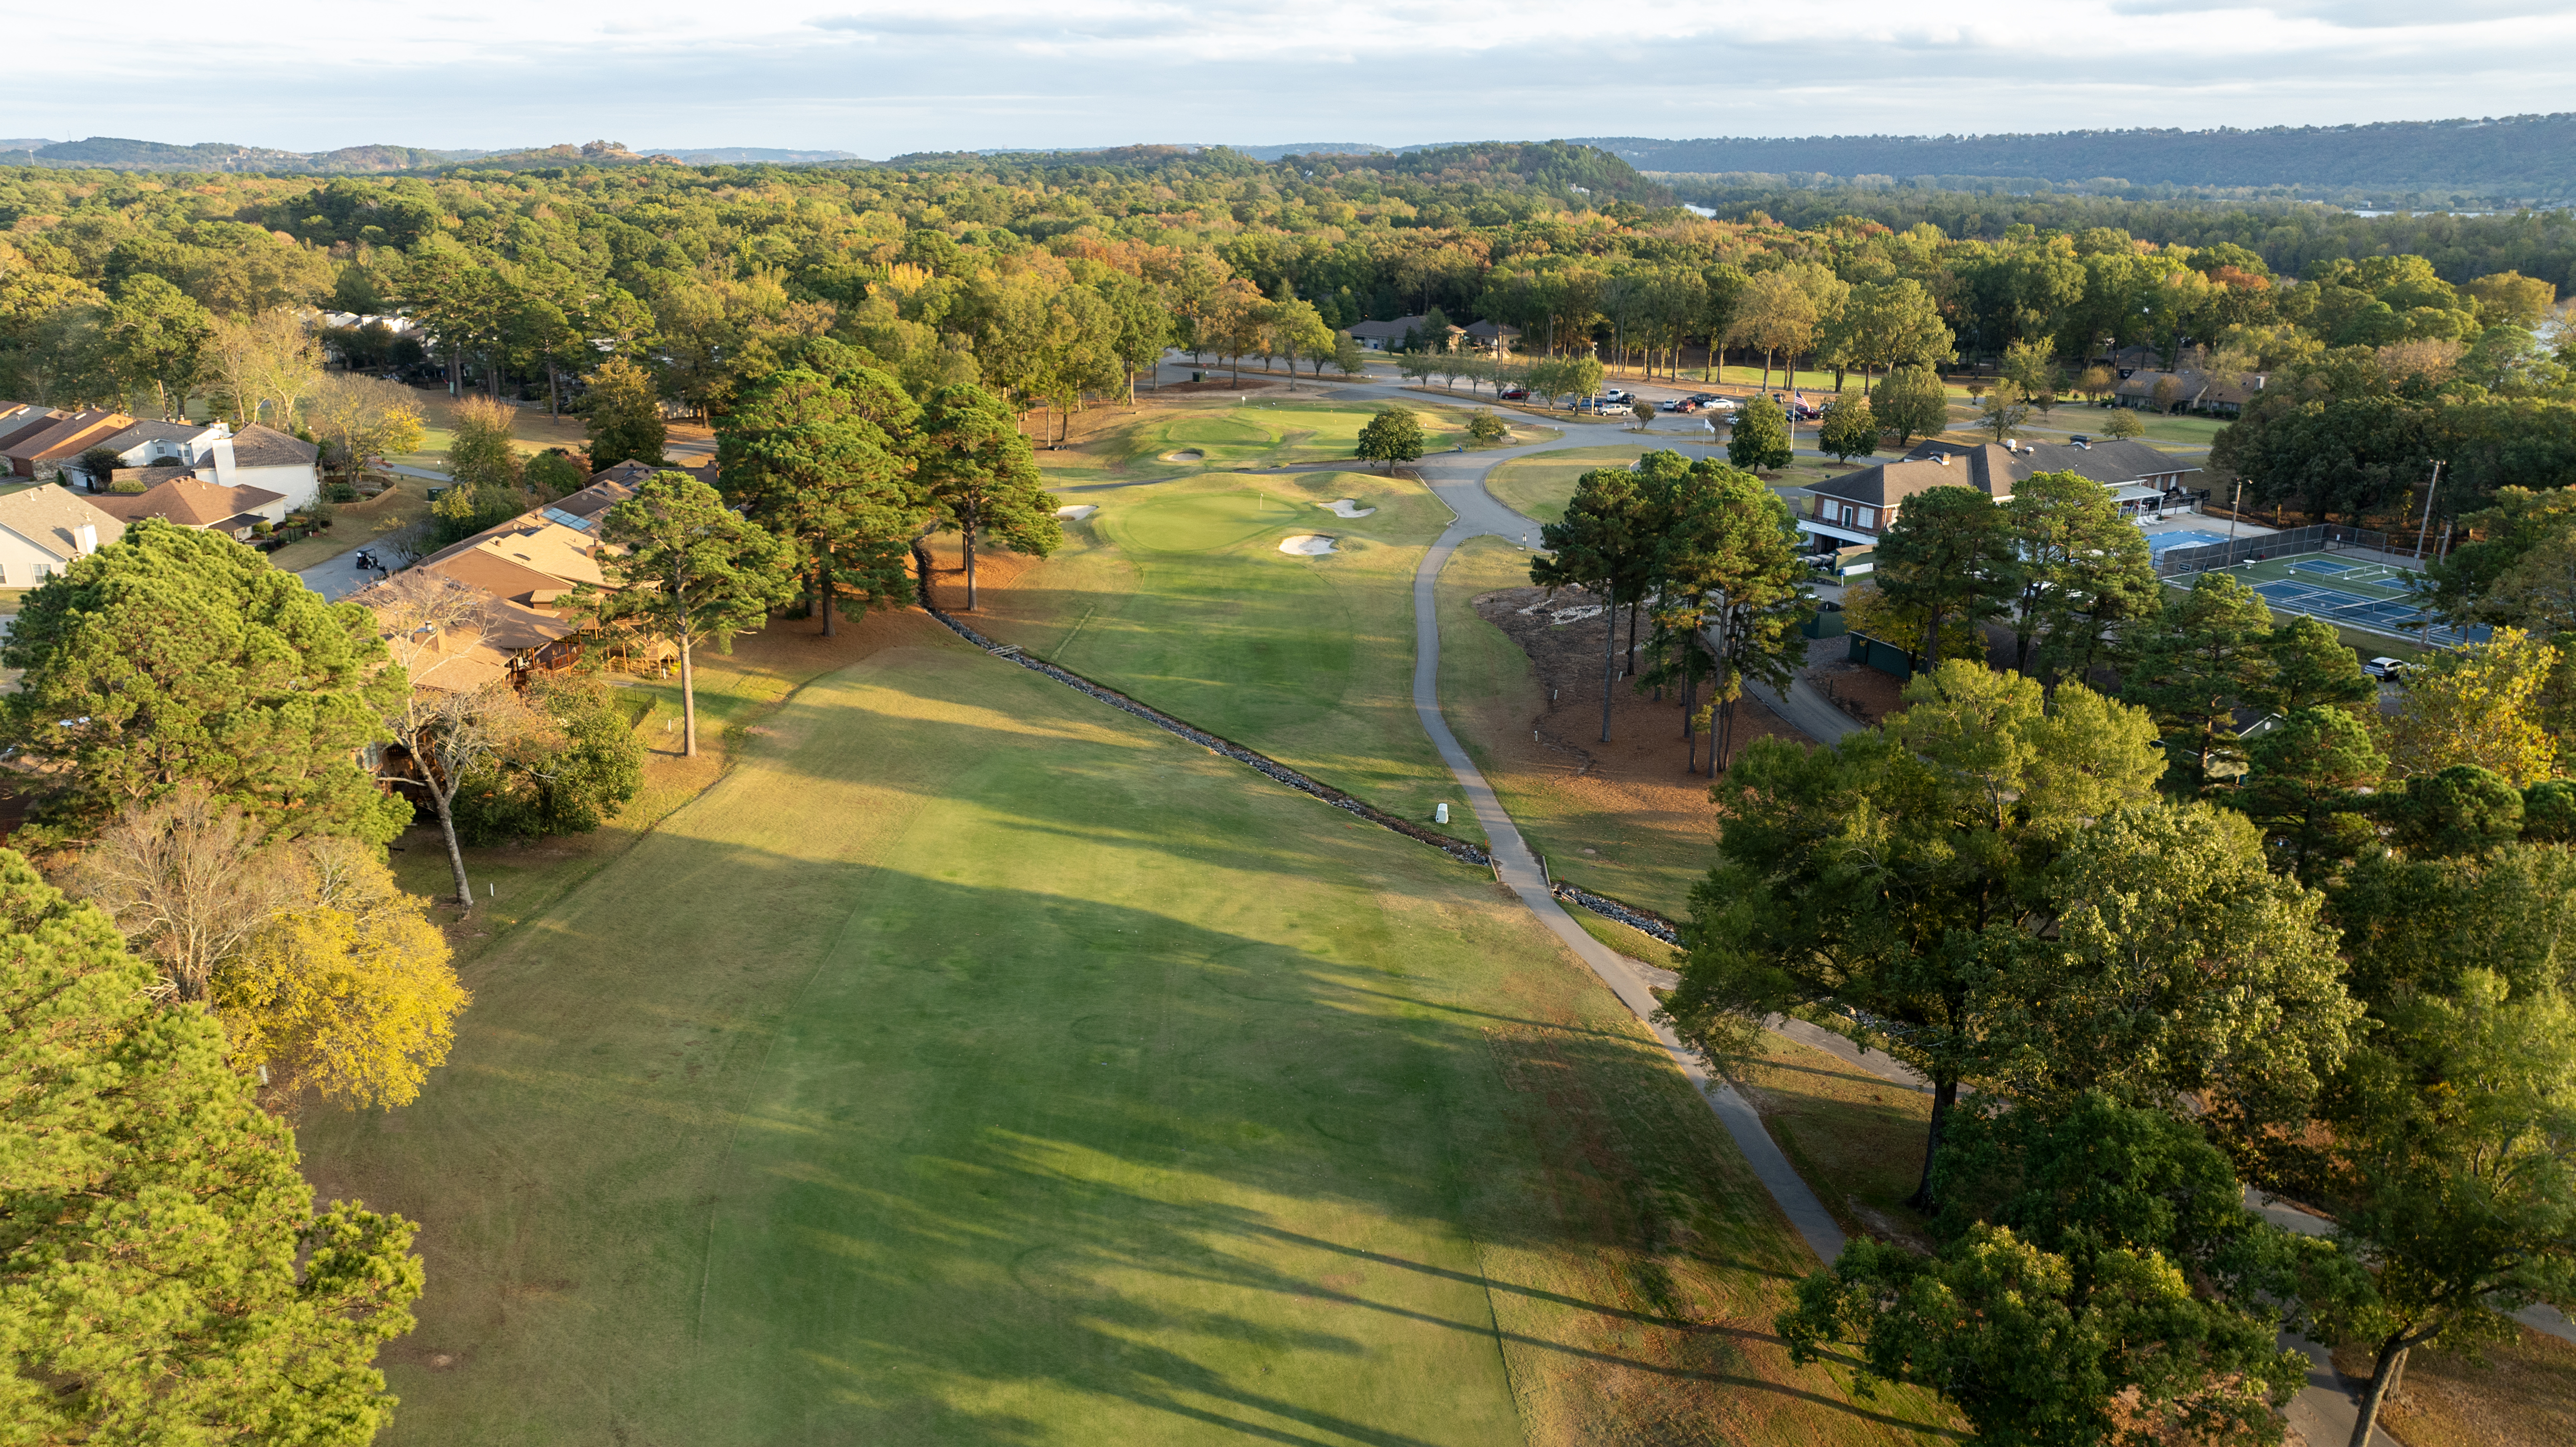
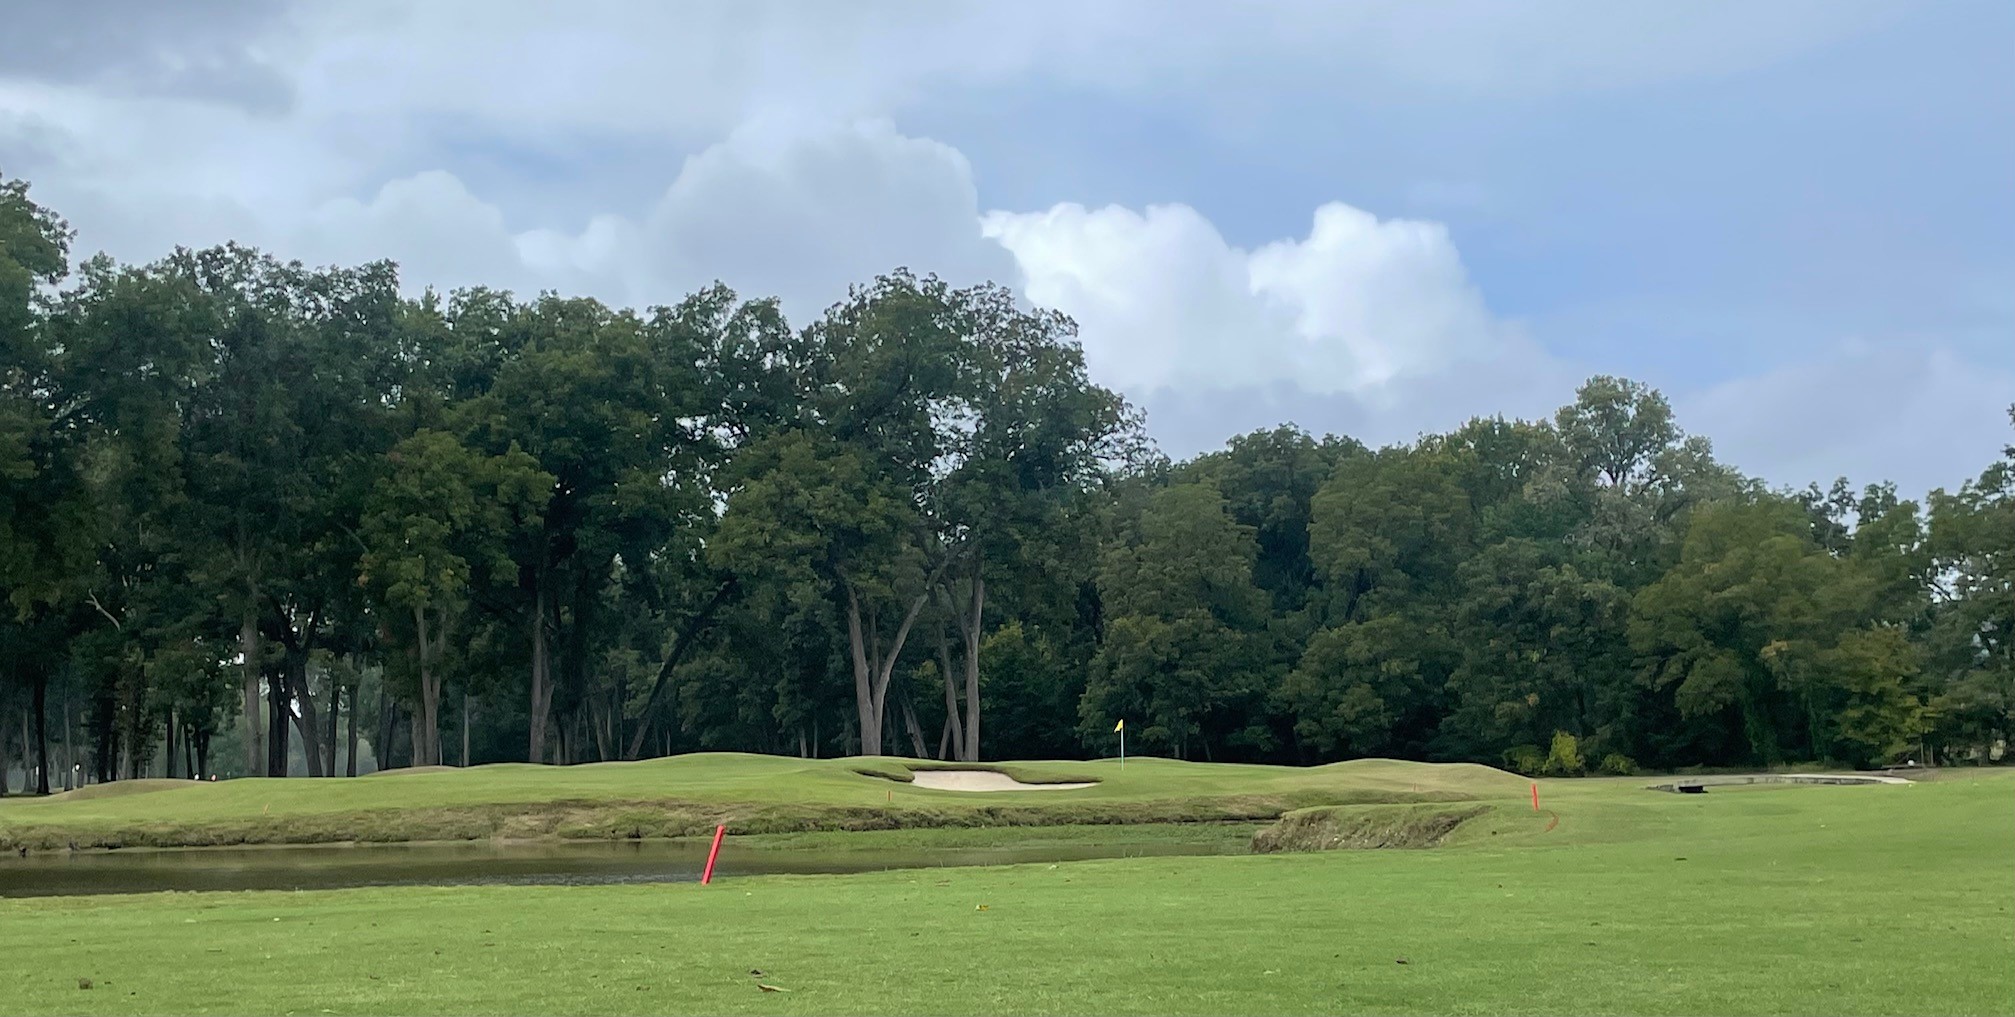
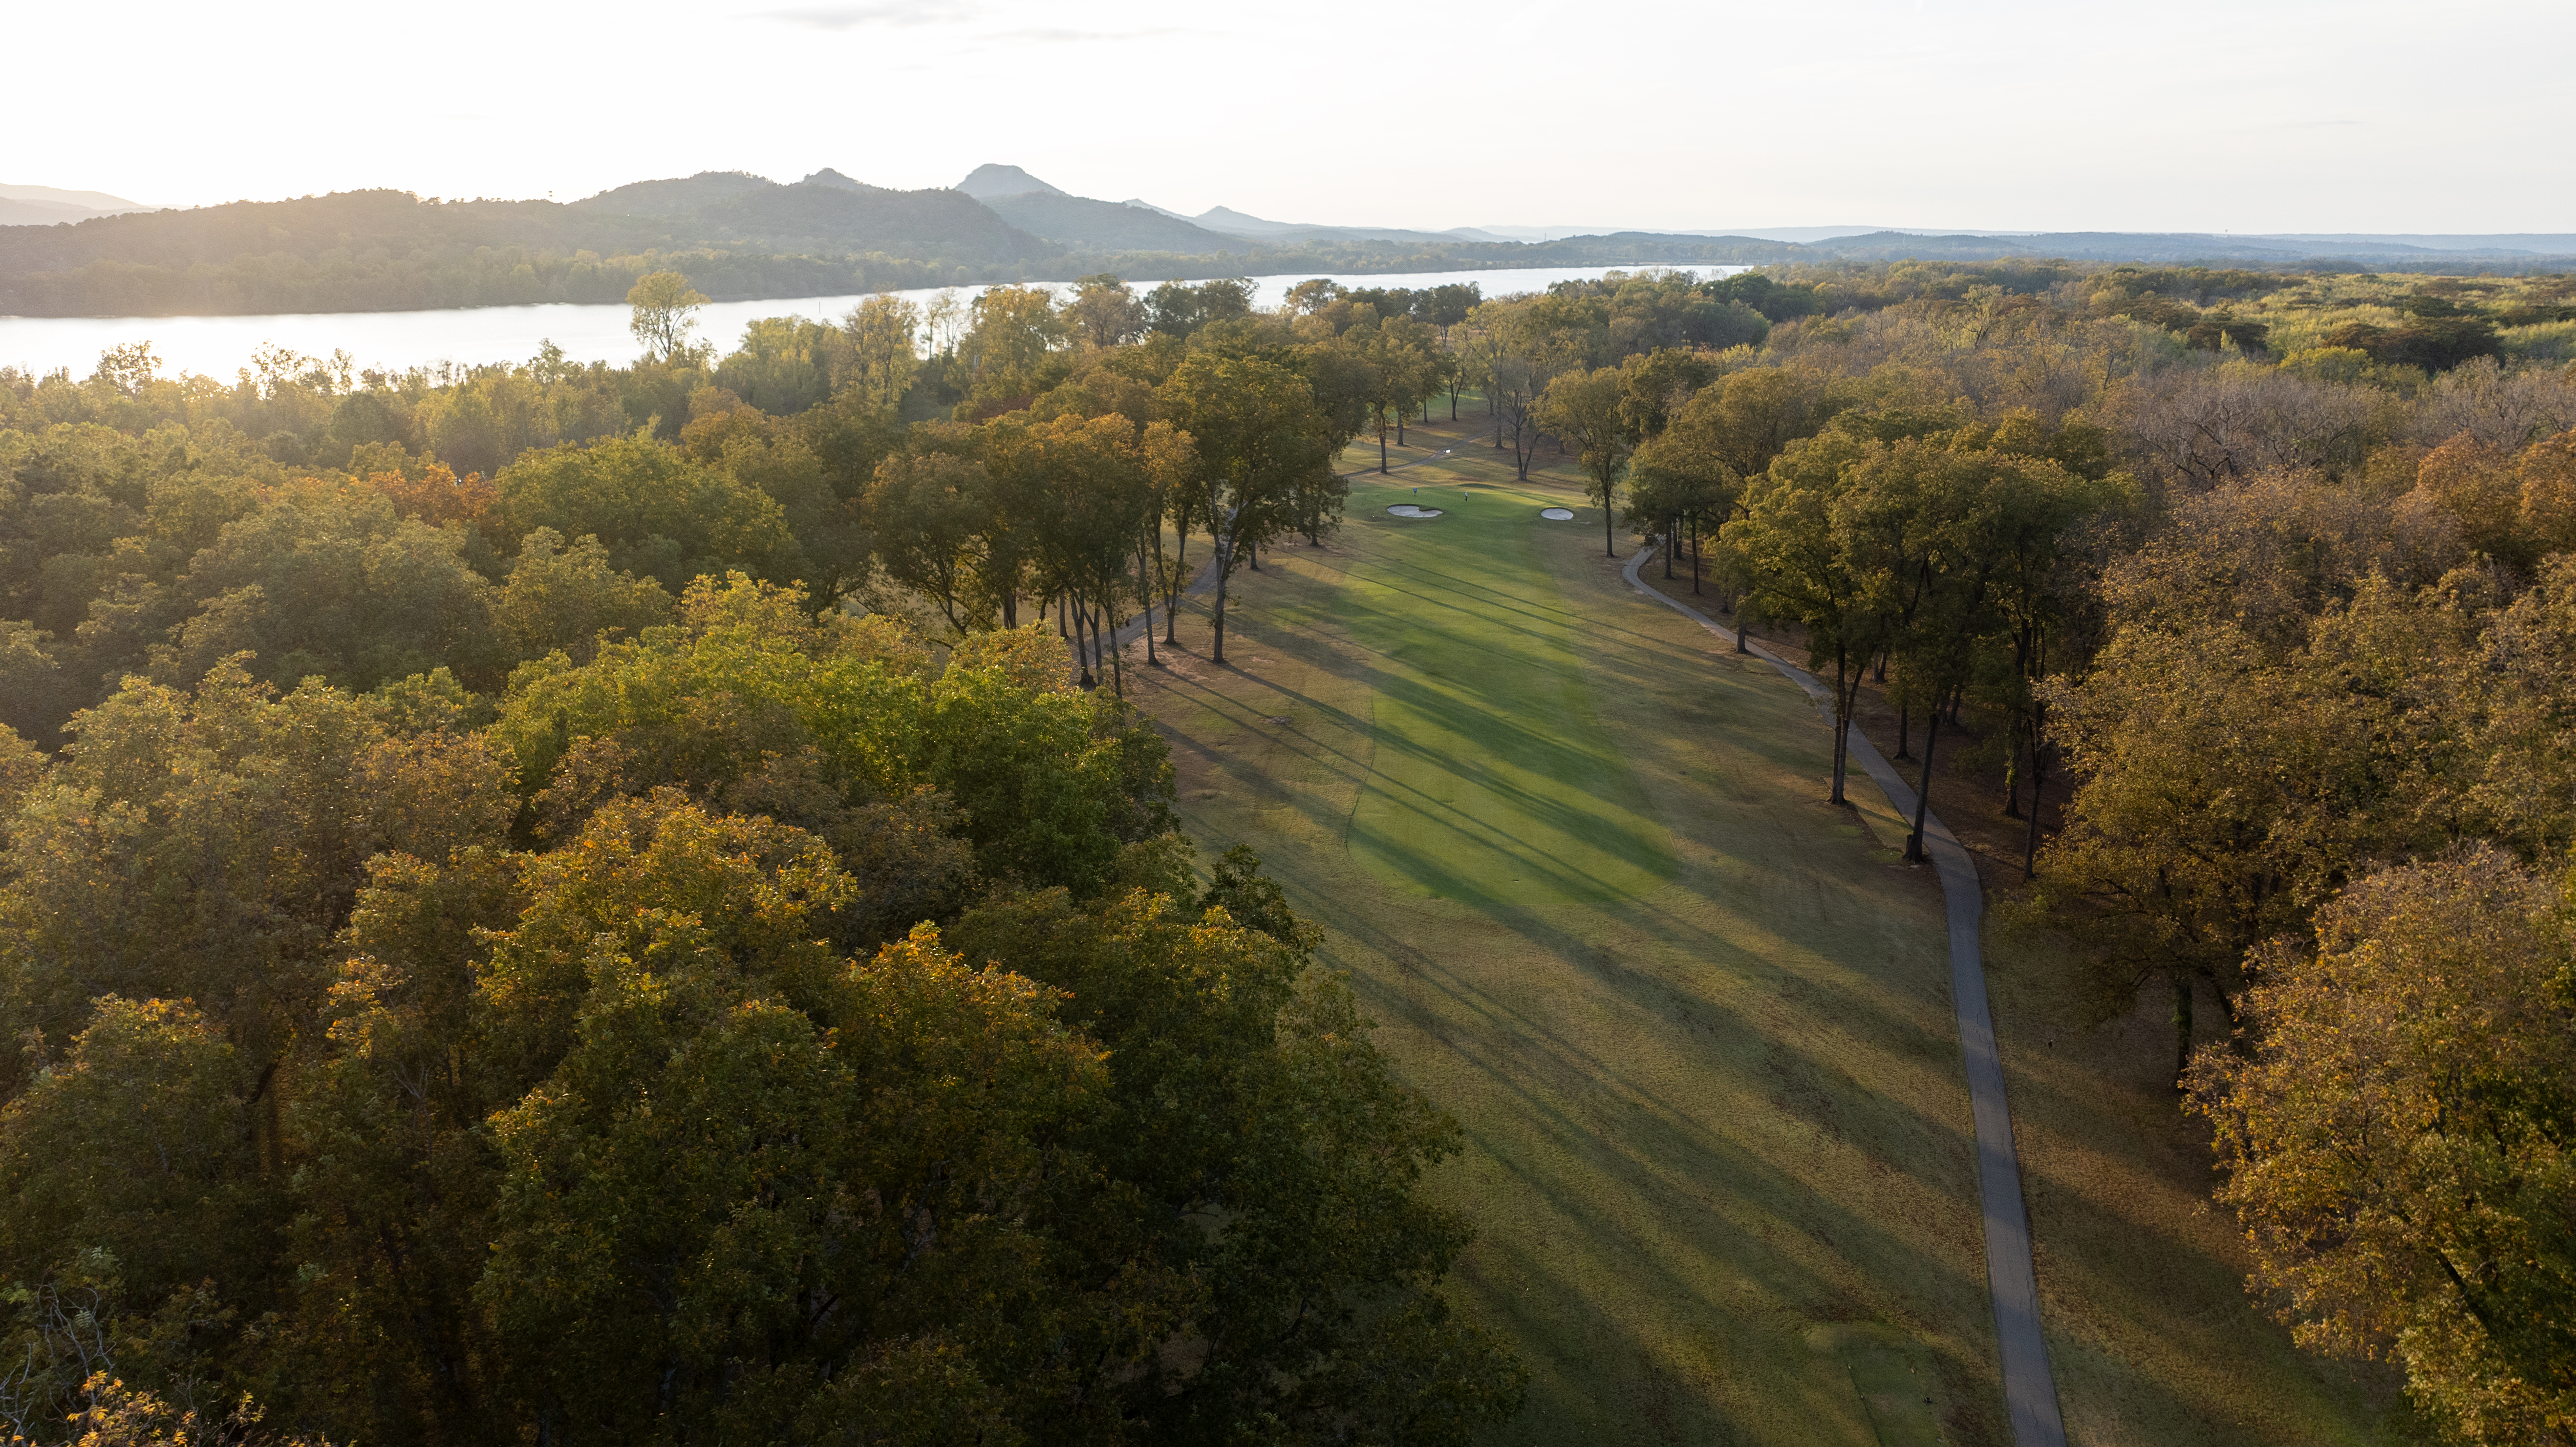
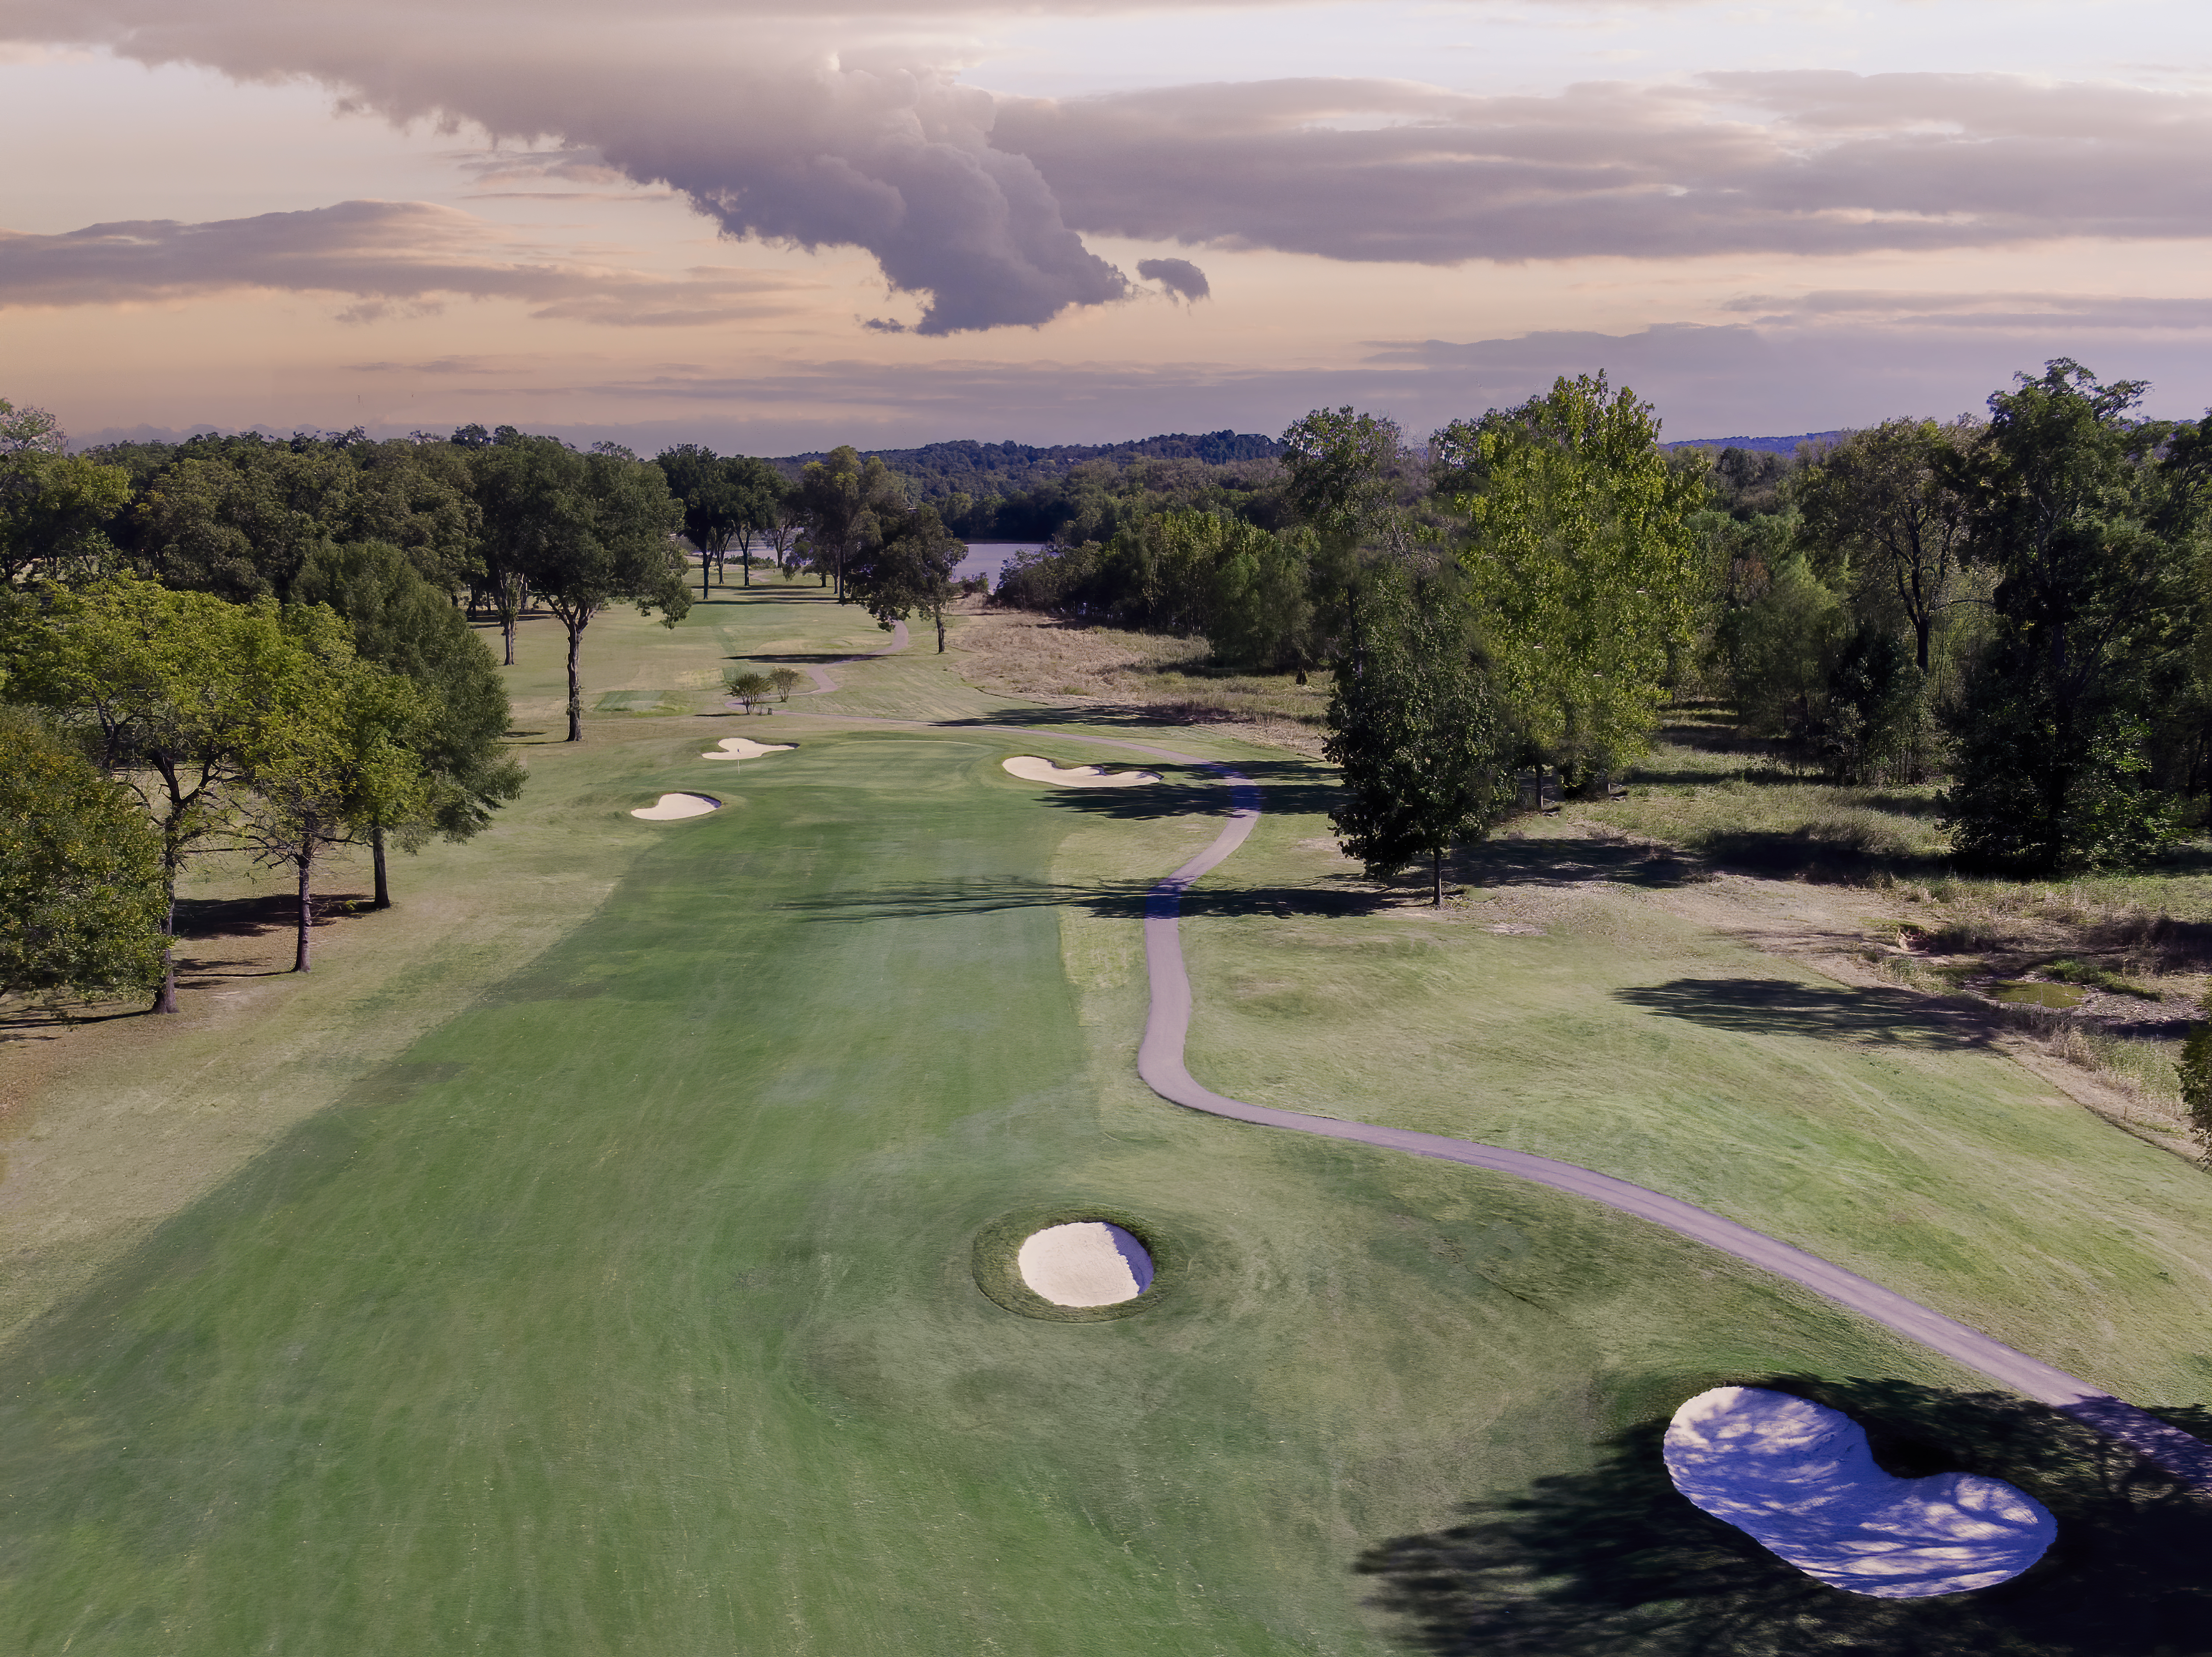
Maumelle Country Club Course Details
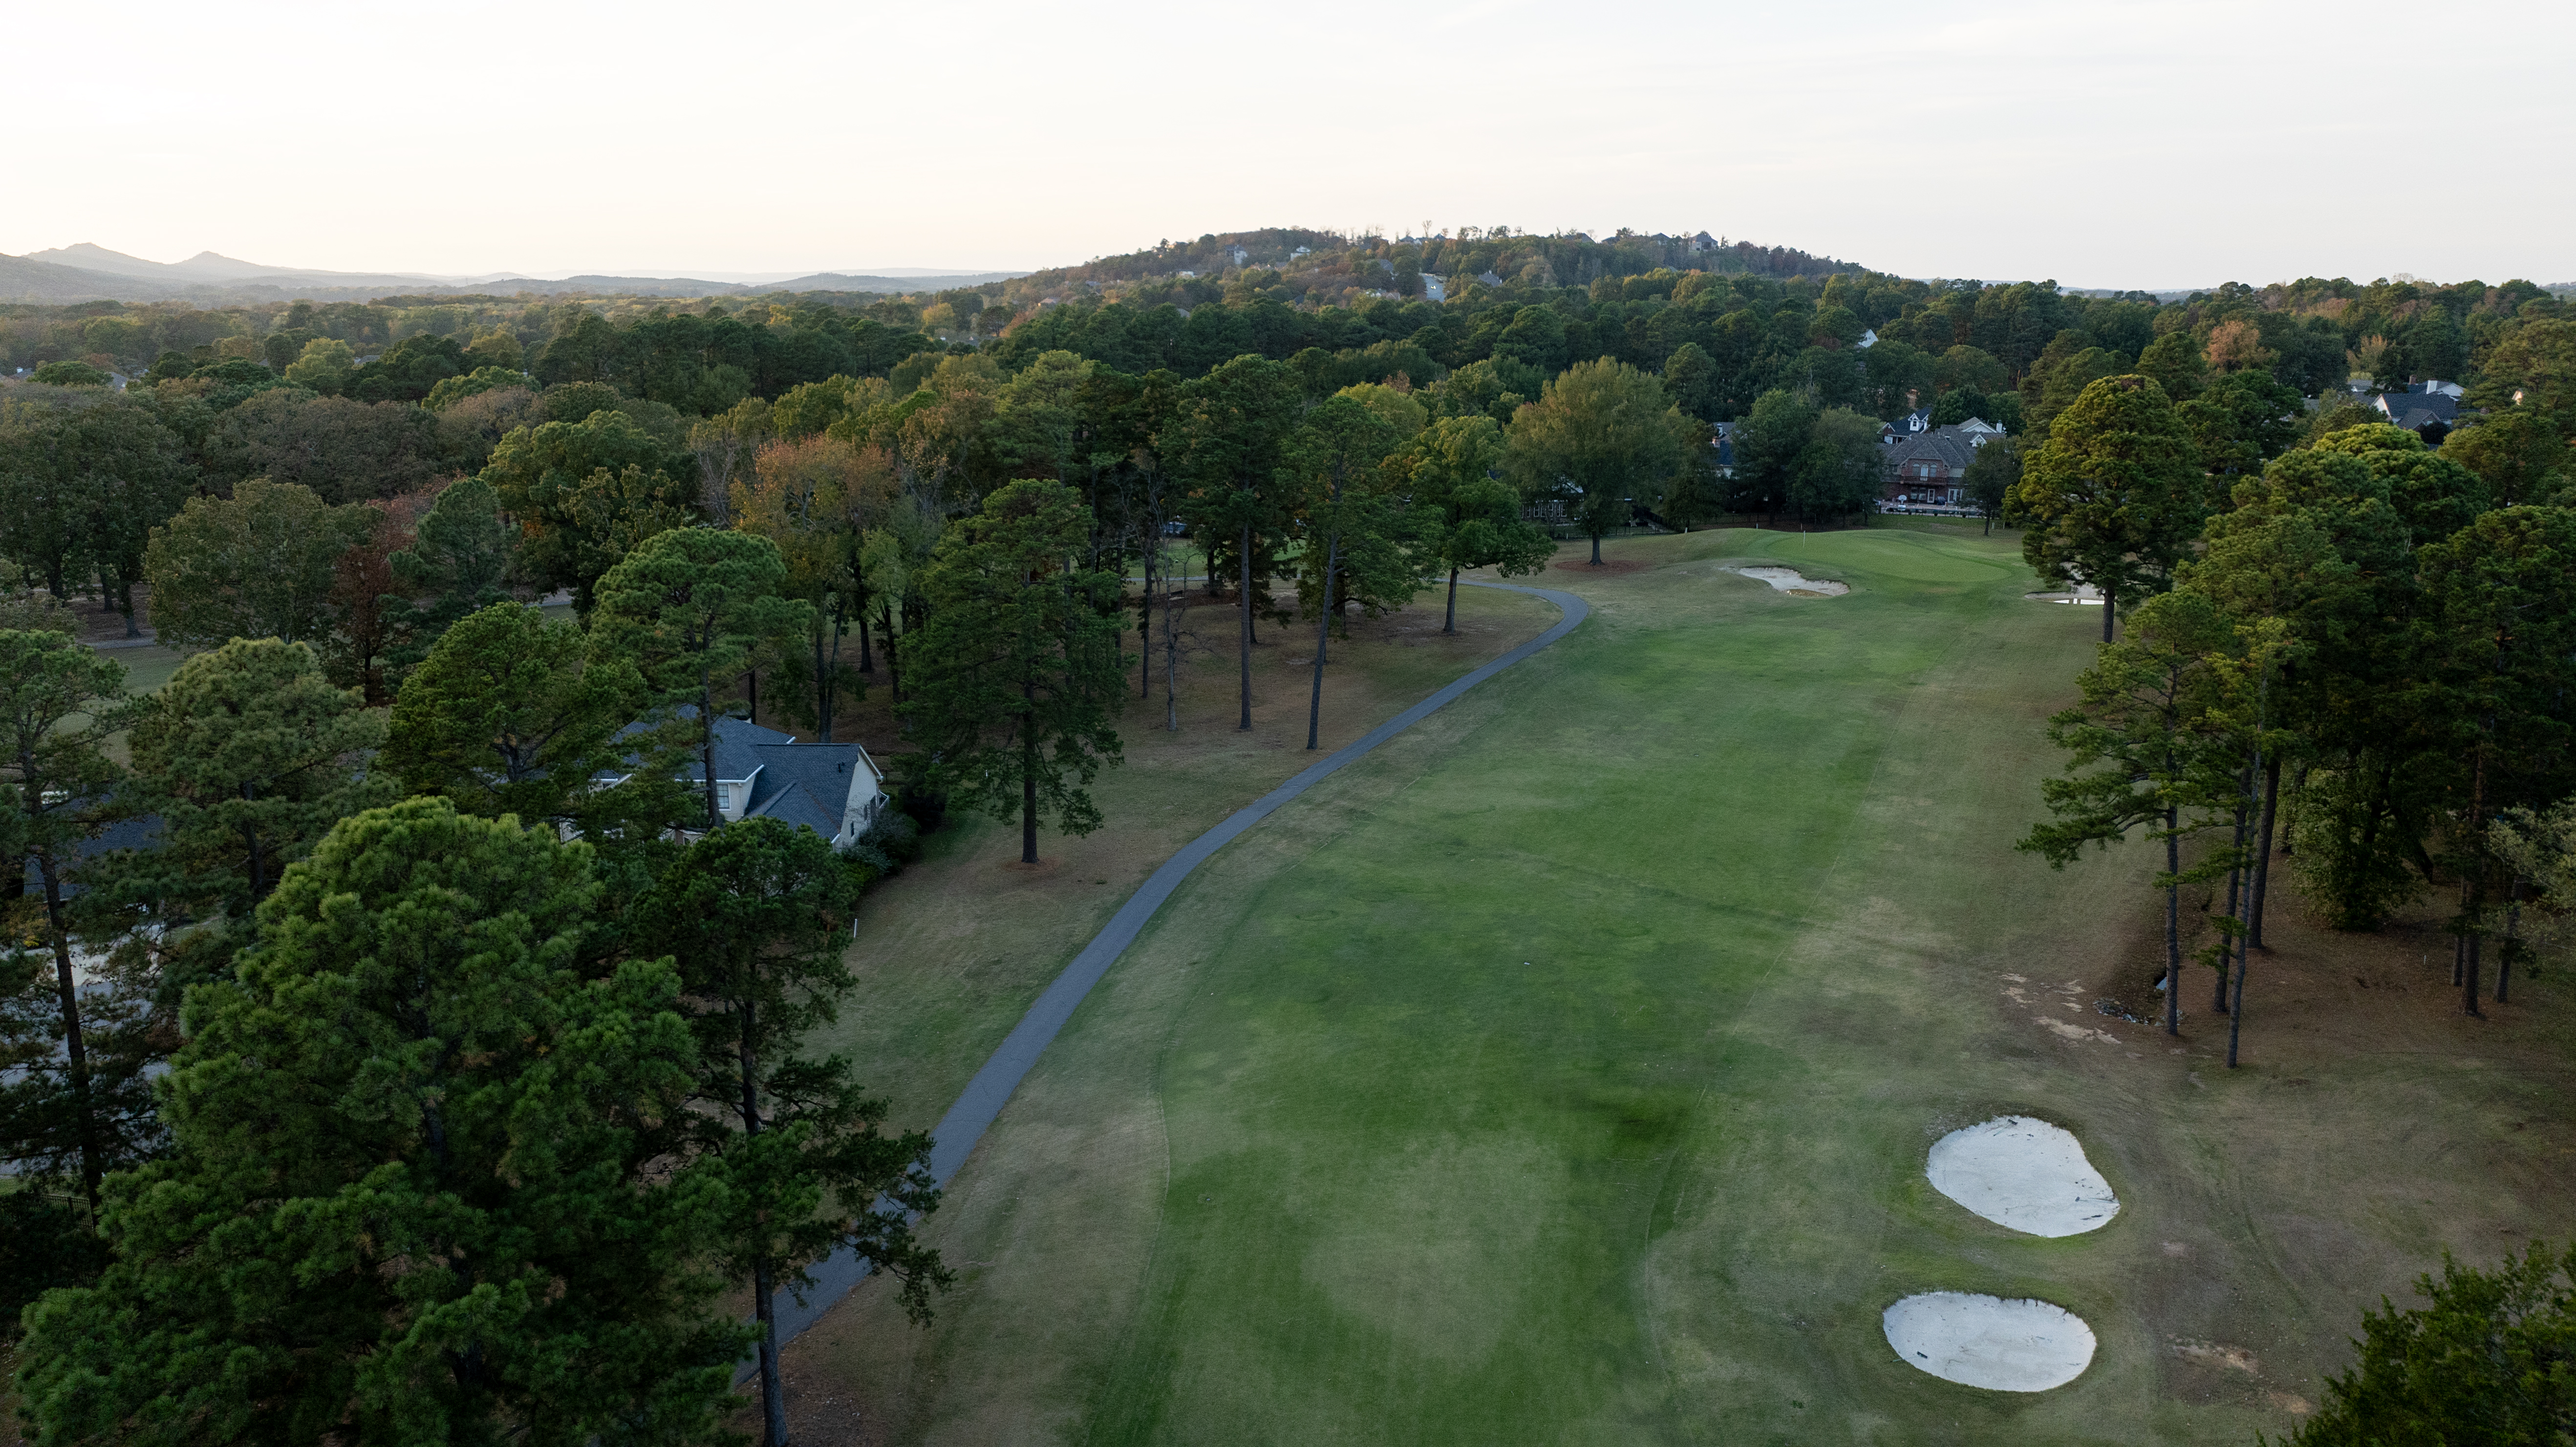
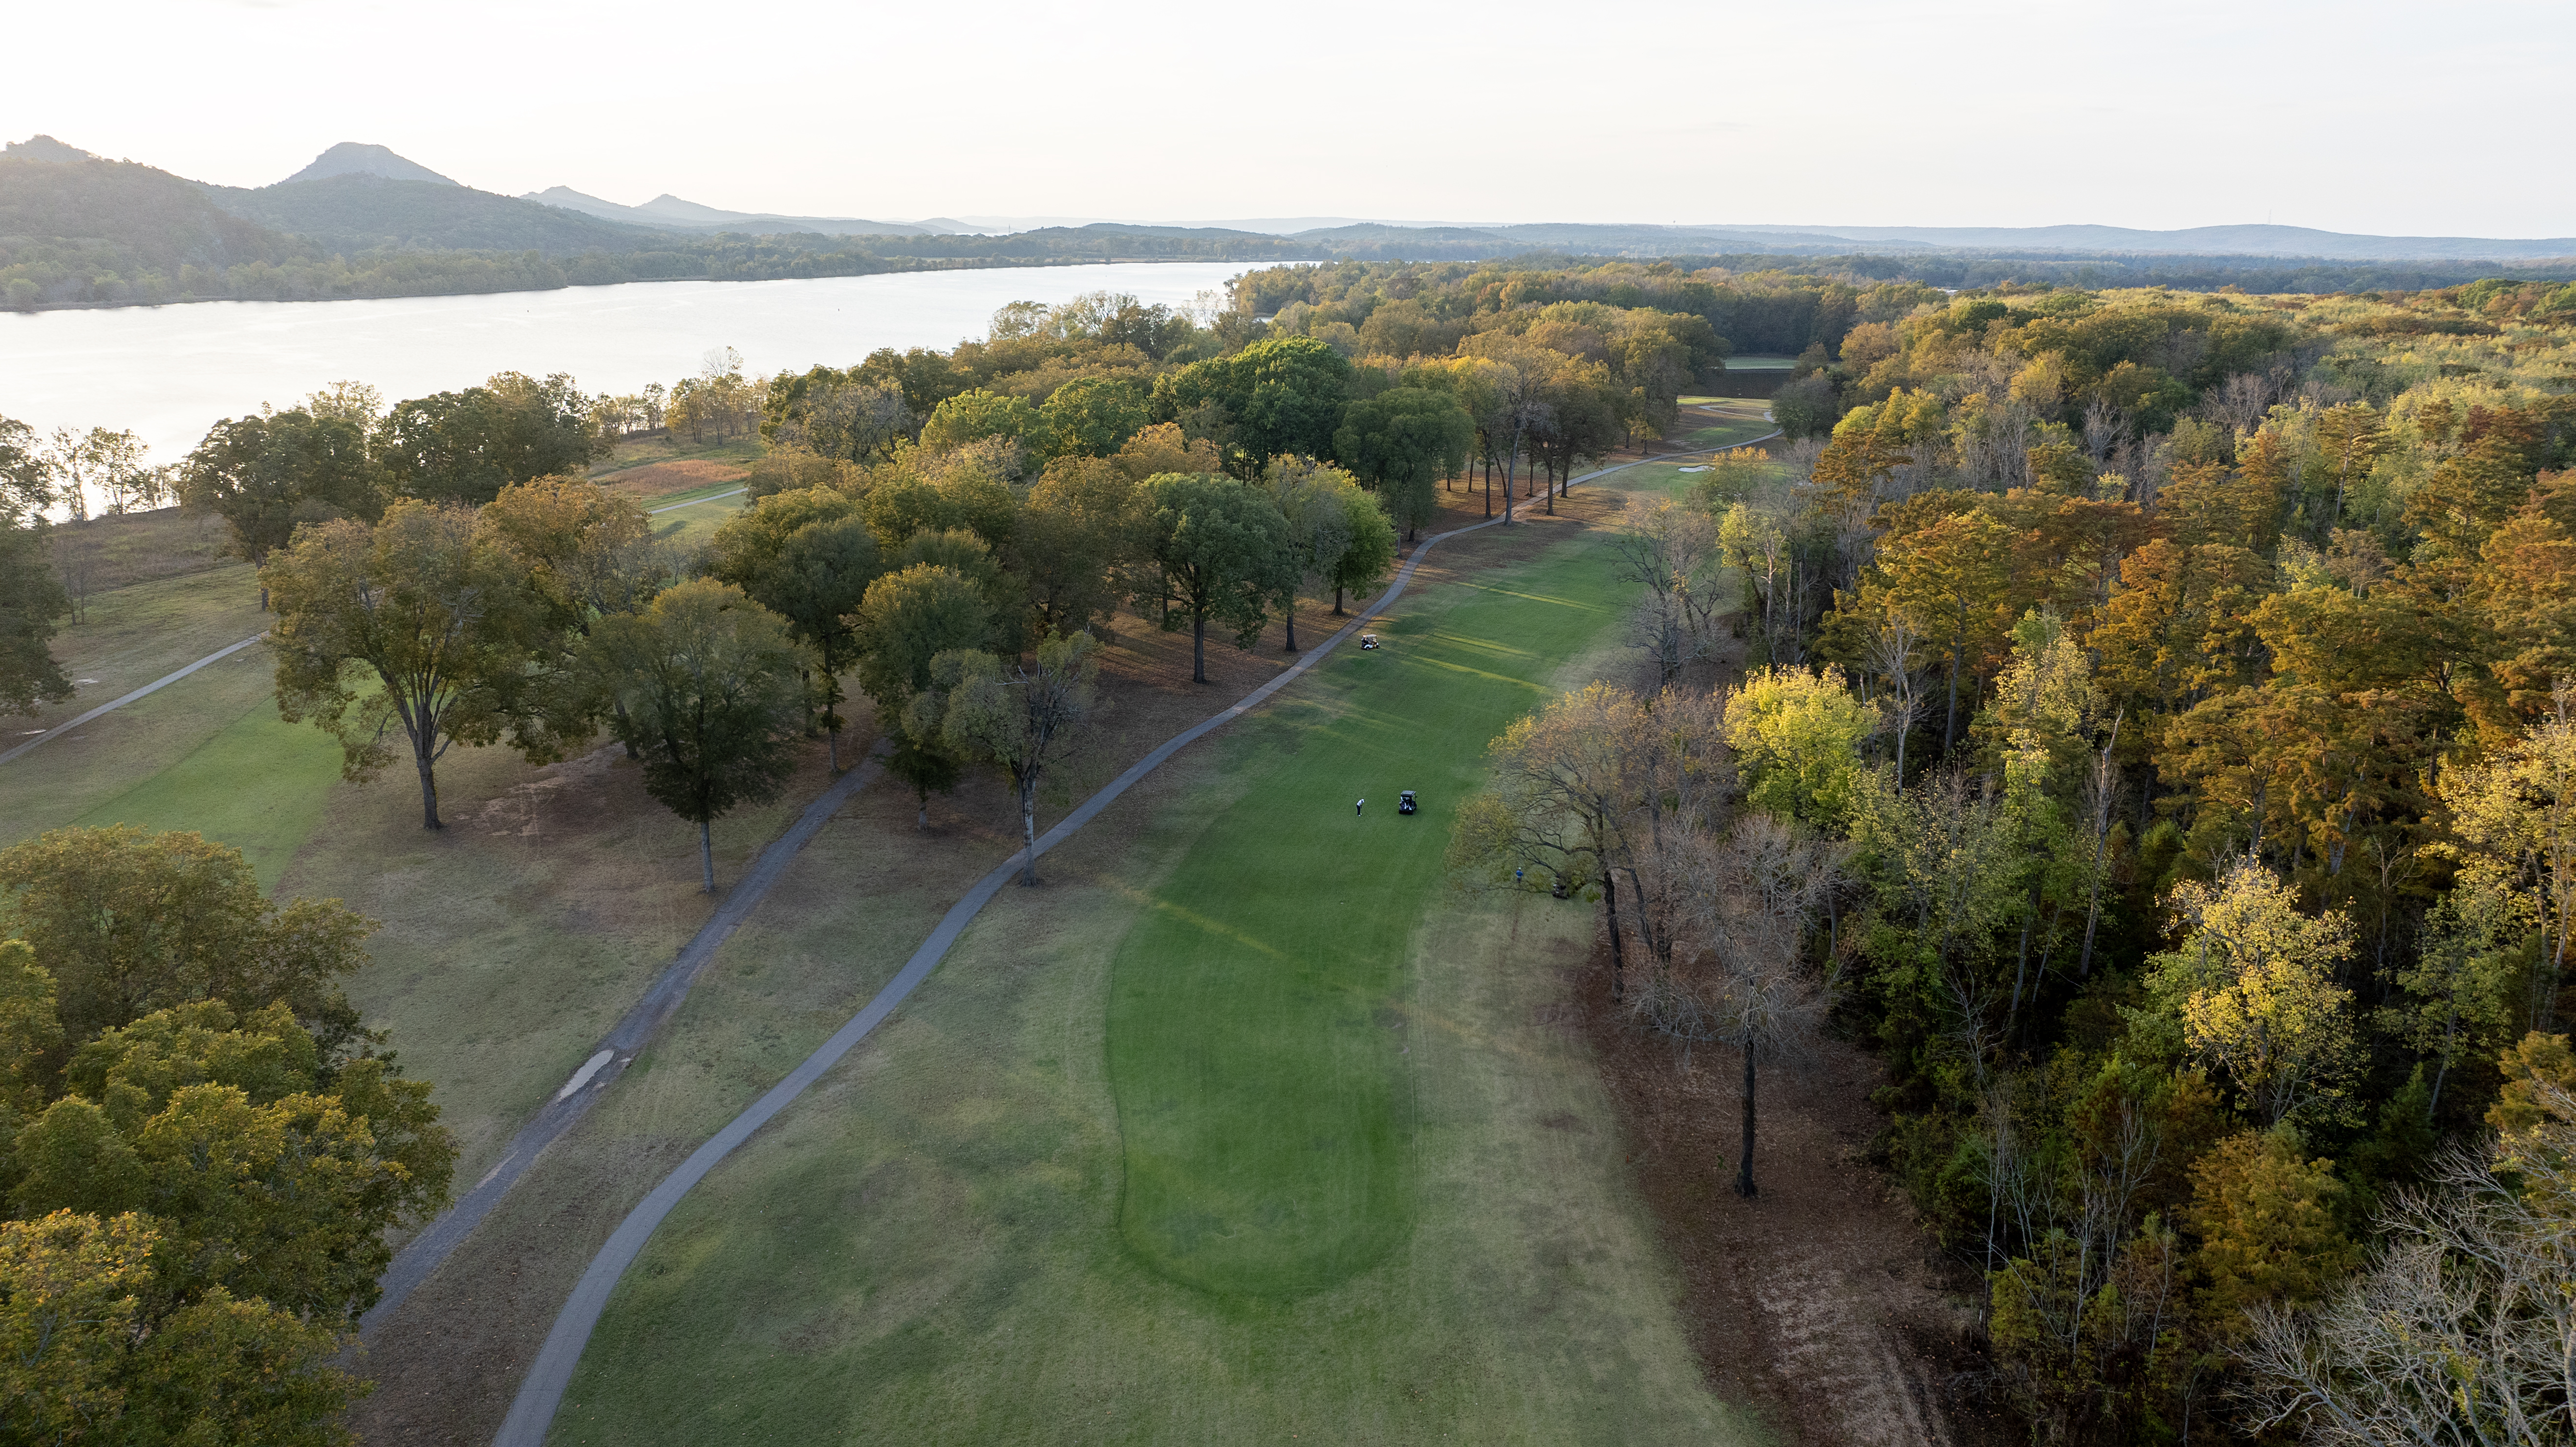
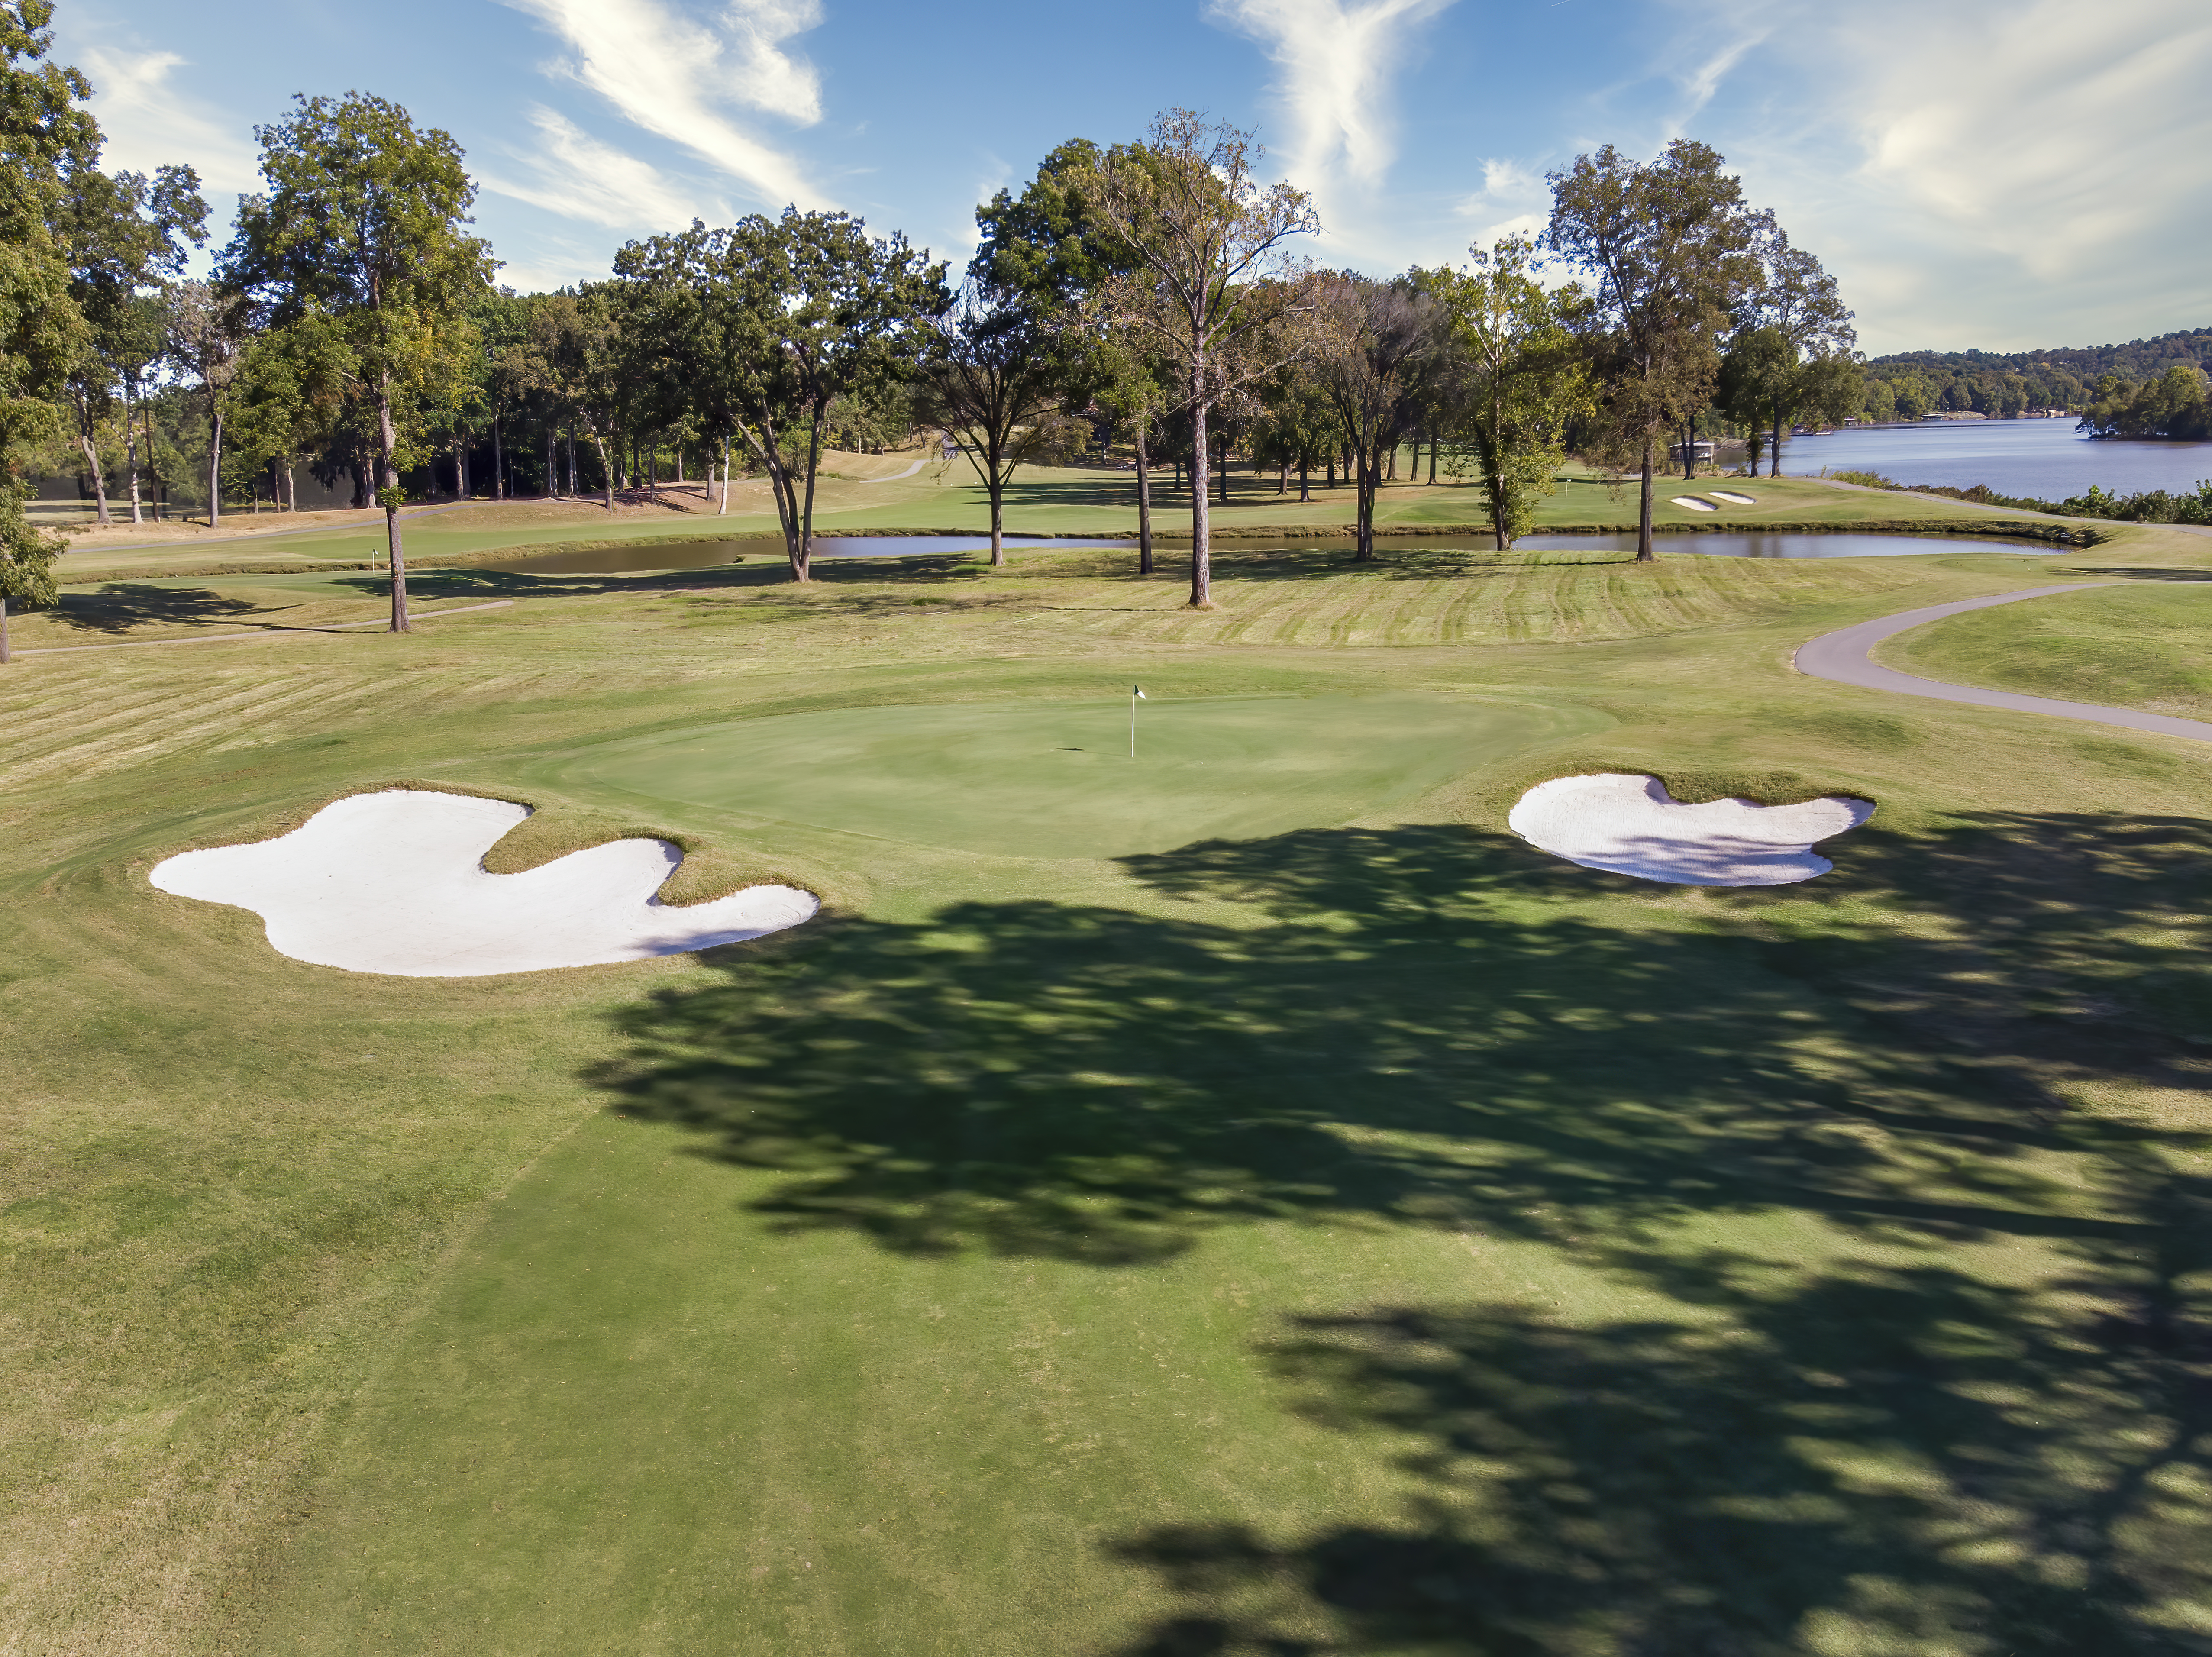
Hole #1
The first hole is a great opening par 4 with a fairway bunker along the right side; be aware of the creek left of the fairway for the longer hitters as it can come in to play on your tee shot. A drive down the left side leaves a great angle for your approach. Out of bounds is in play down the right side from tee to green.
Pro Tip: Be careful with a right hole location as there is not much room.
Par 4
Black 397 yards
Blue 378 yards
White 366 yards
Green 349 yards
Red 318 yards
Gold 248 yards
Pro Tip: Be careful with a right hole location as there is not much room.
Par 4
Black 397 yards
Blue 378 yards
White 366 yards
Green 349 yards
Red 318 yards
Gold 248 yards
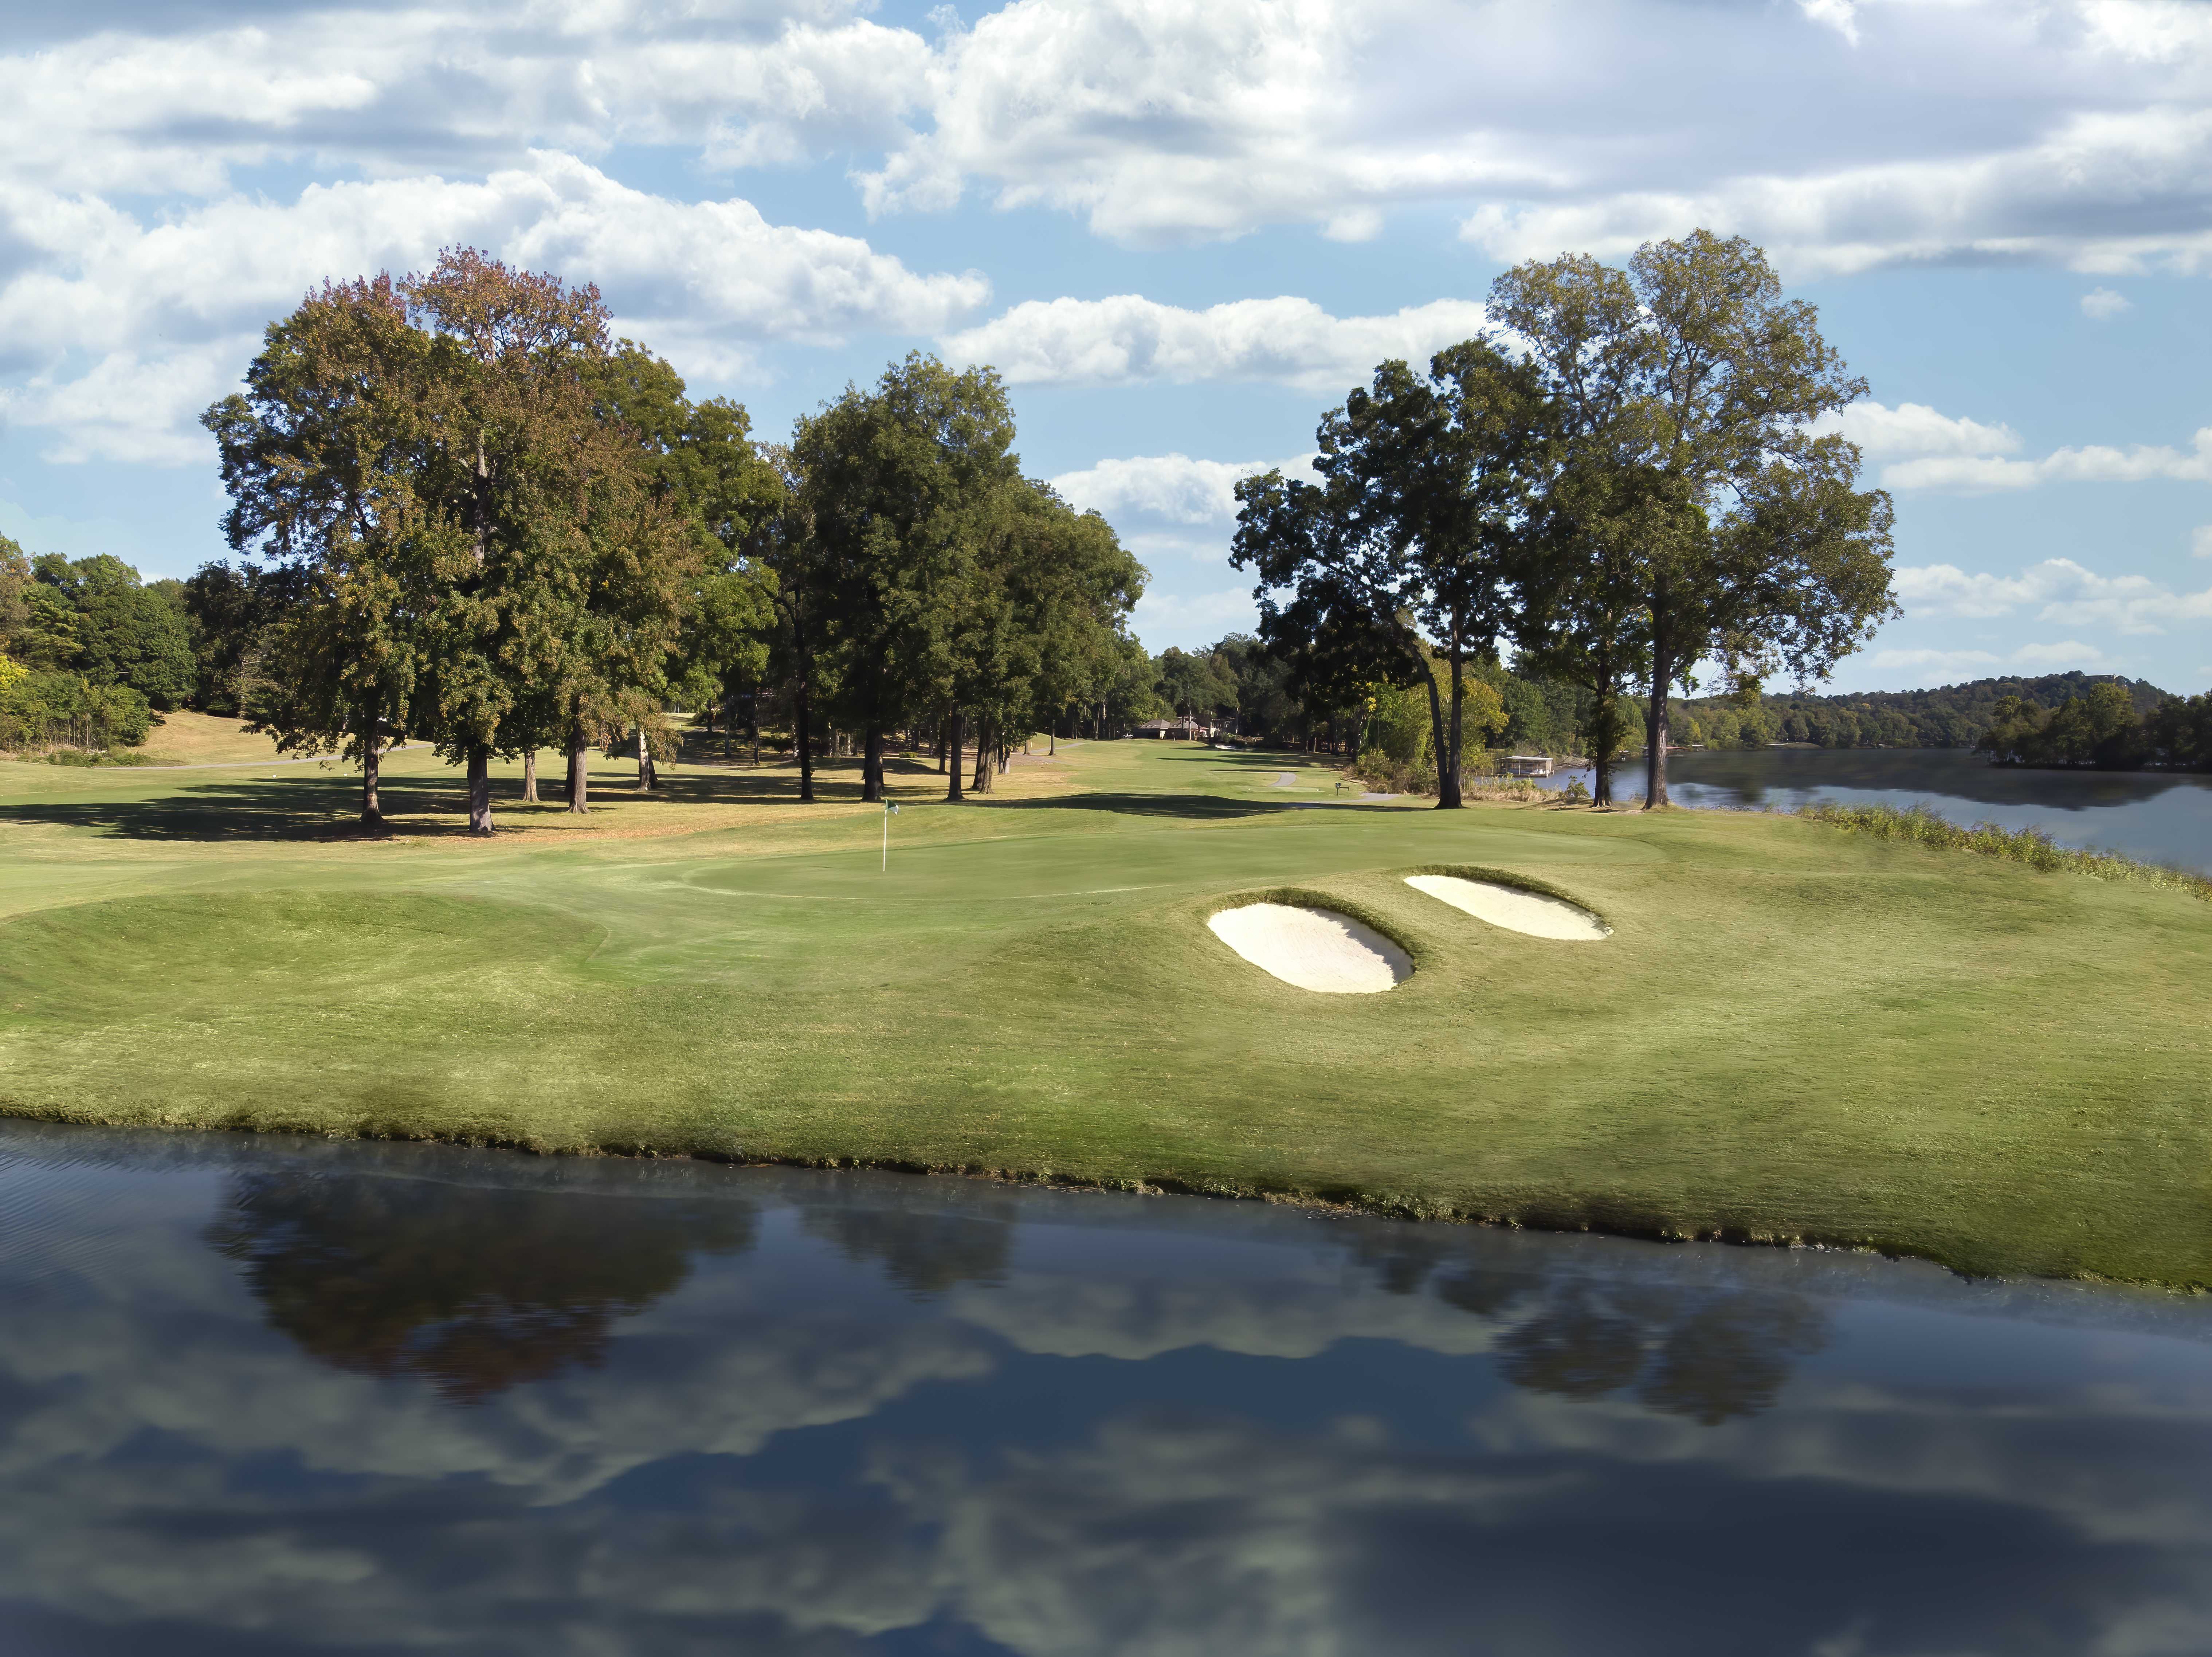
Hole #2
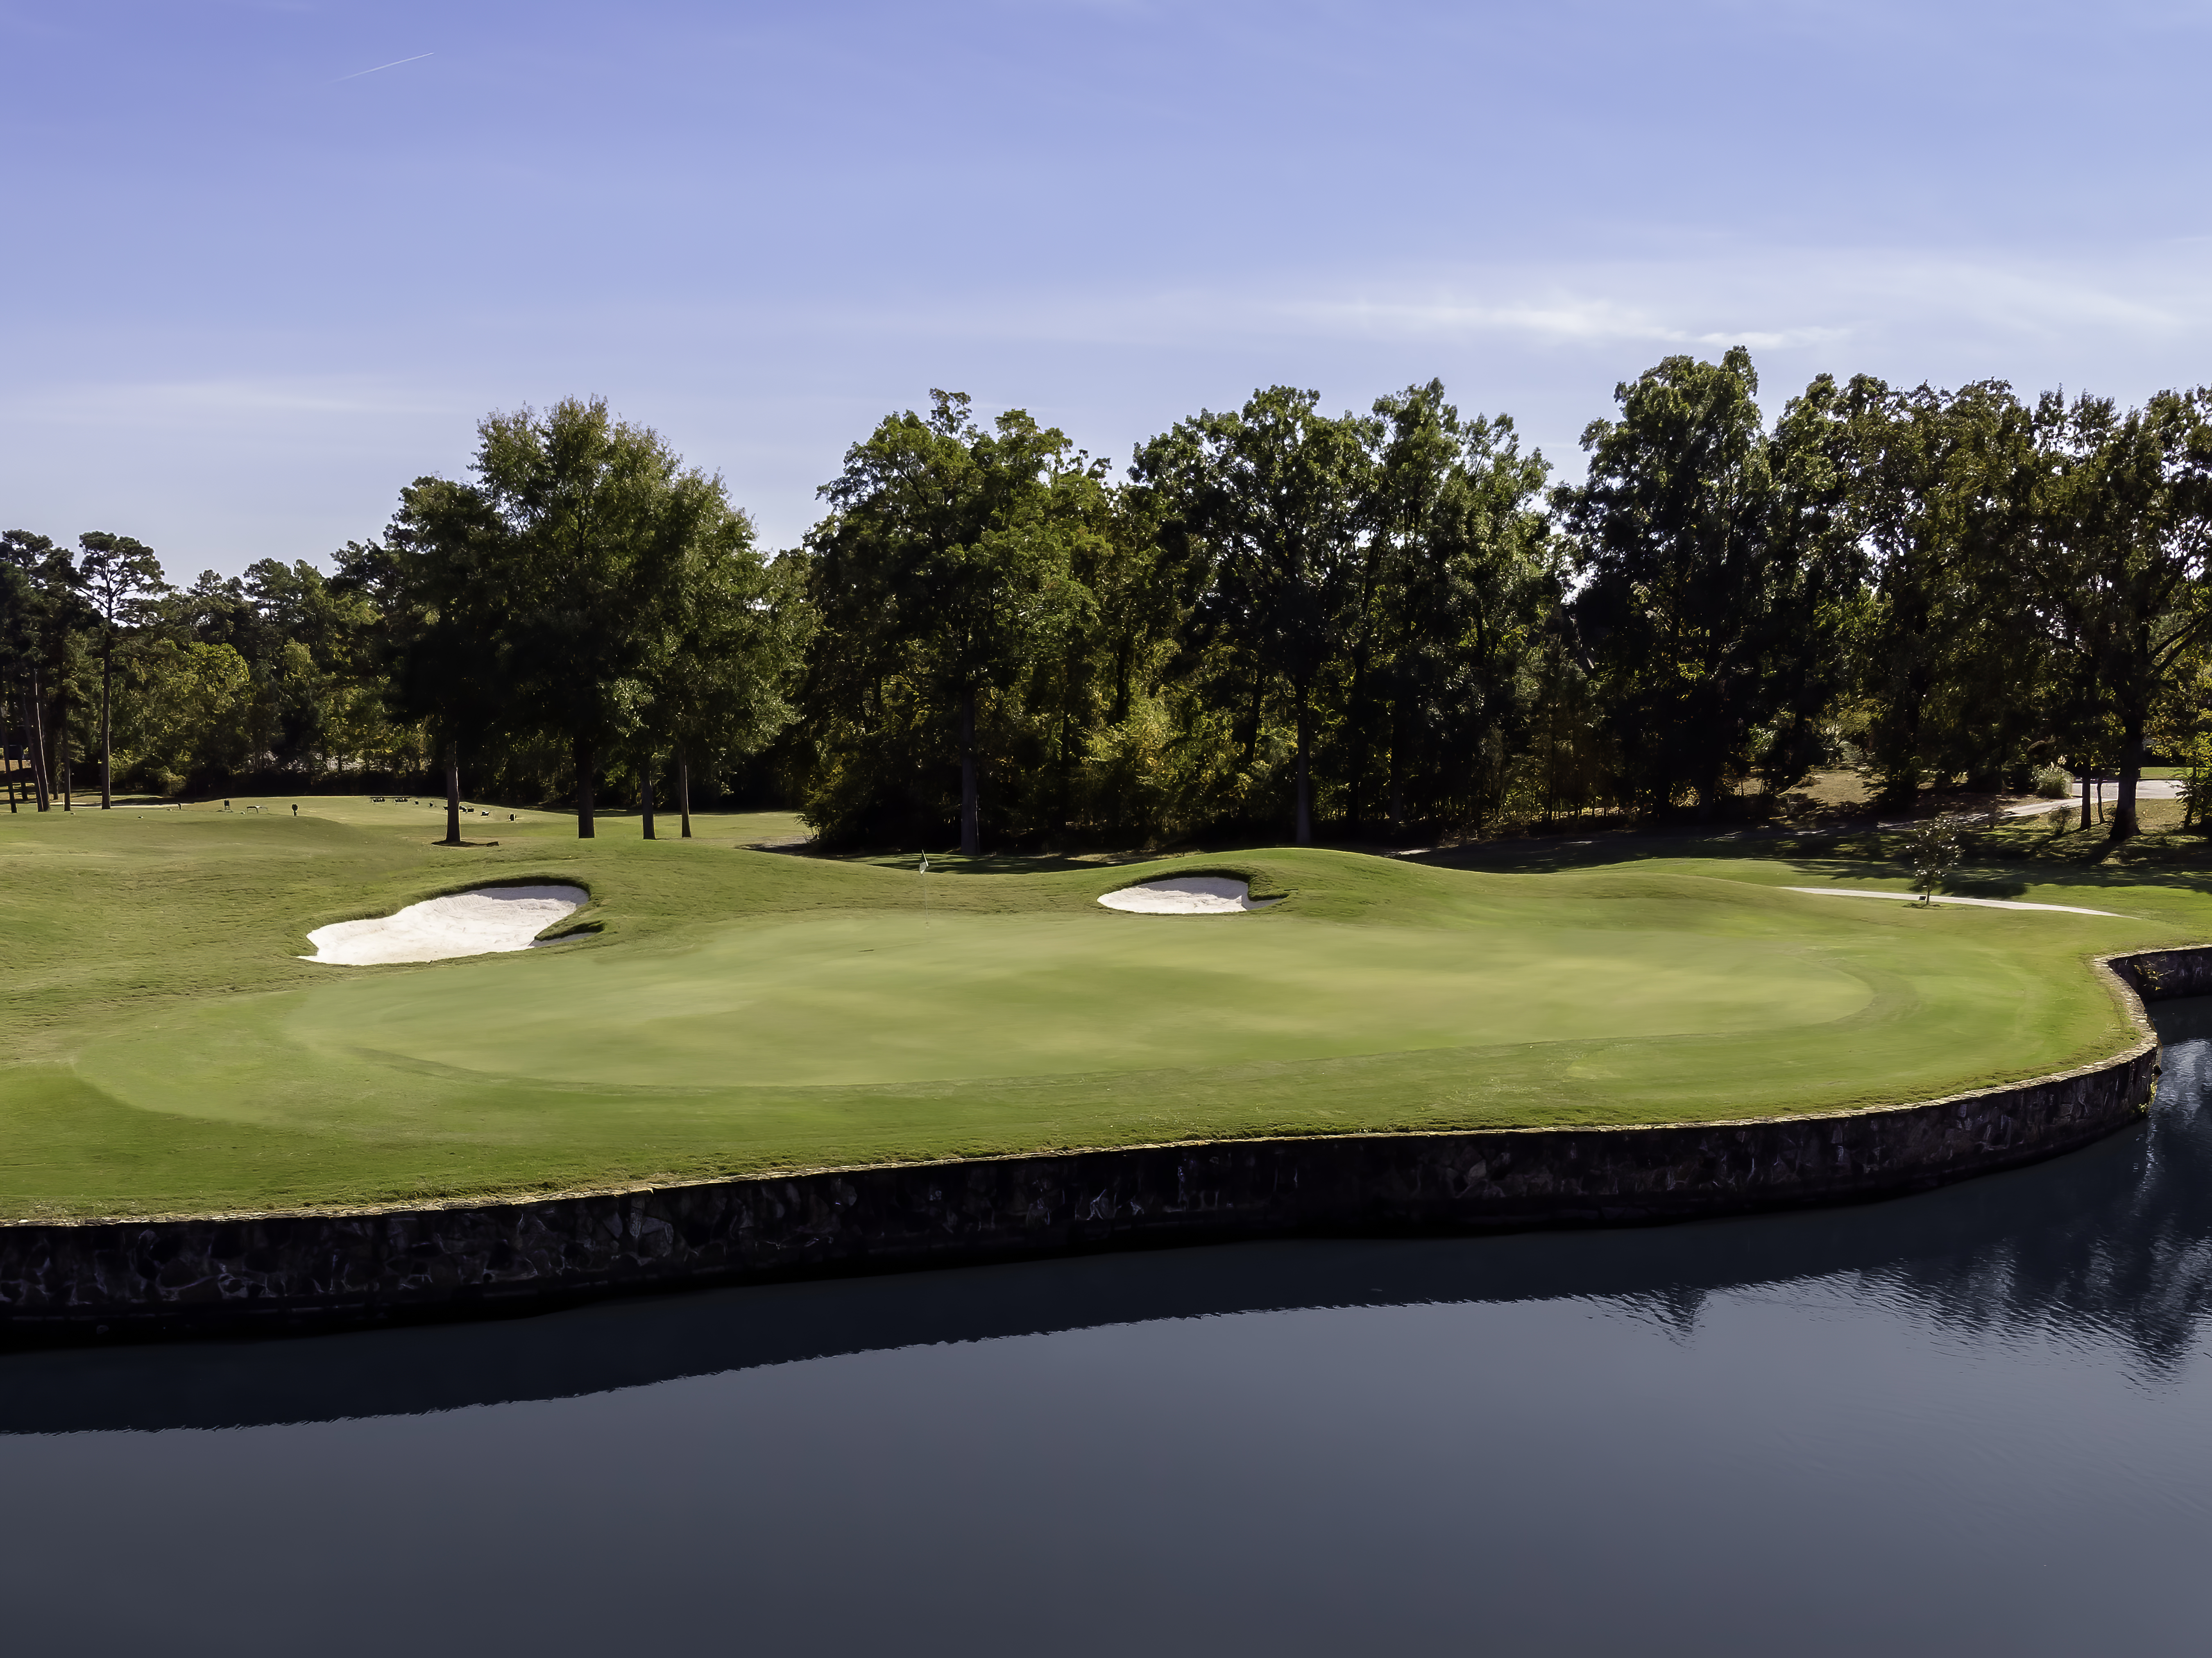
The second hole is one of the most talked about holes from members and guests of MCC! A very large pond down the left side makes for a scary tee shot. Tall pine trees and out of bounds down the right side of this hole requires you to pull out one of your most accurate tee shots of your round. There are three bunkers guarding the right side of the green with a penalty area behind it.
Pro Tip: Aggressive players will aim at the gazebo while conservative players will aim at the slide. Aim for the left side of the green when going for the green in two.
Par 5
Black 568 yards
Blue 553 yards
White 535 yards
Green 441 yards
Red 416 yards
Gold 356 yards
Pro Tip: Aggressive players will aim at the gazebo while conservative players will aim at the slide. Aim for the left side of the green when going for the green in two.
Par 5
Black 568 yards
Blue 553 yards
White 535 yards
Green 441 yards
Red 416 yards
Gold 356 yards
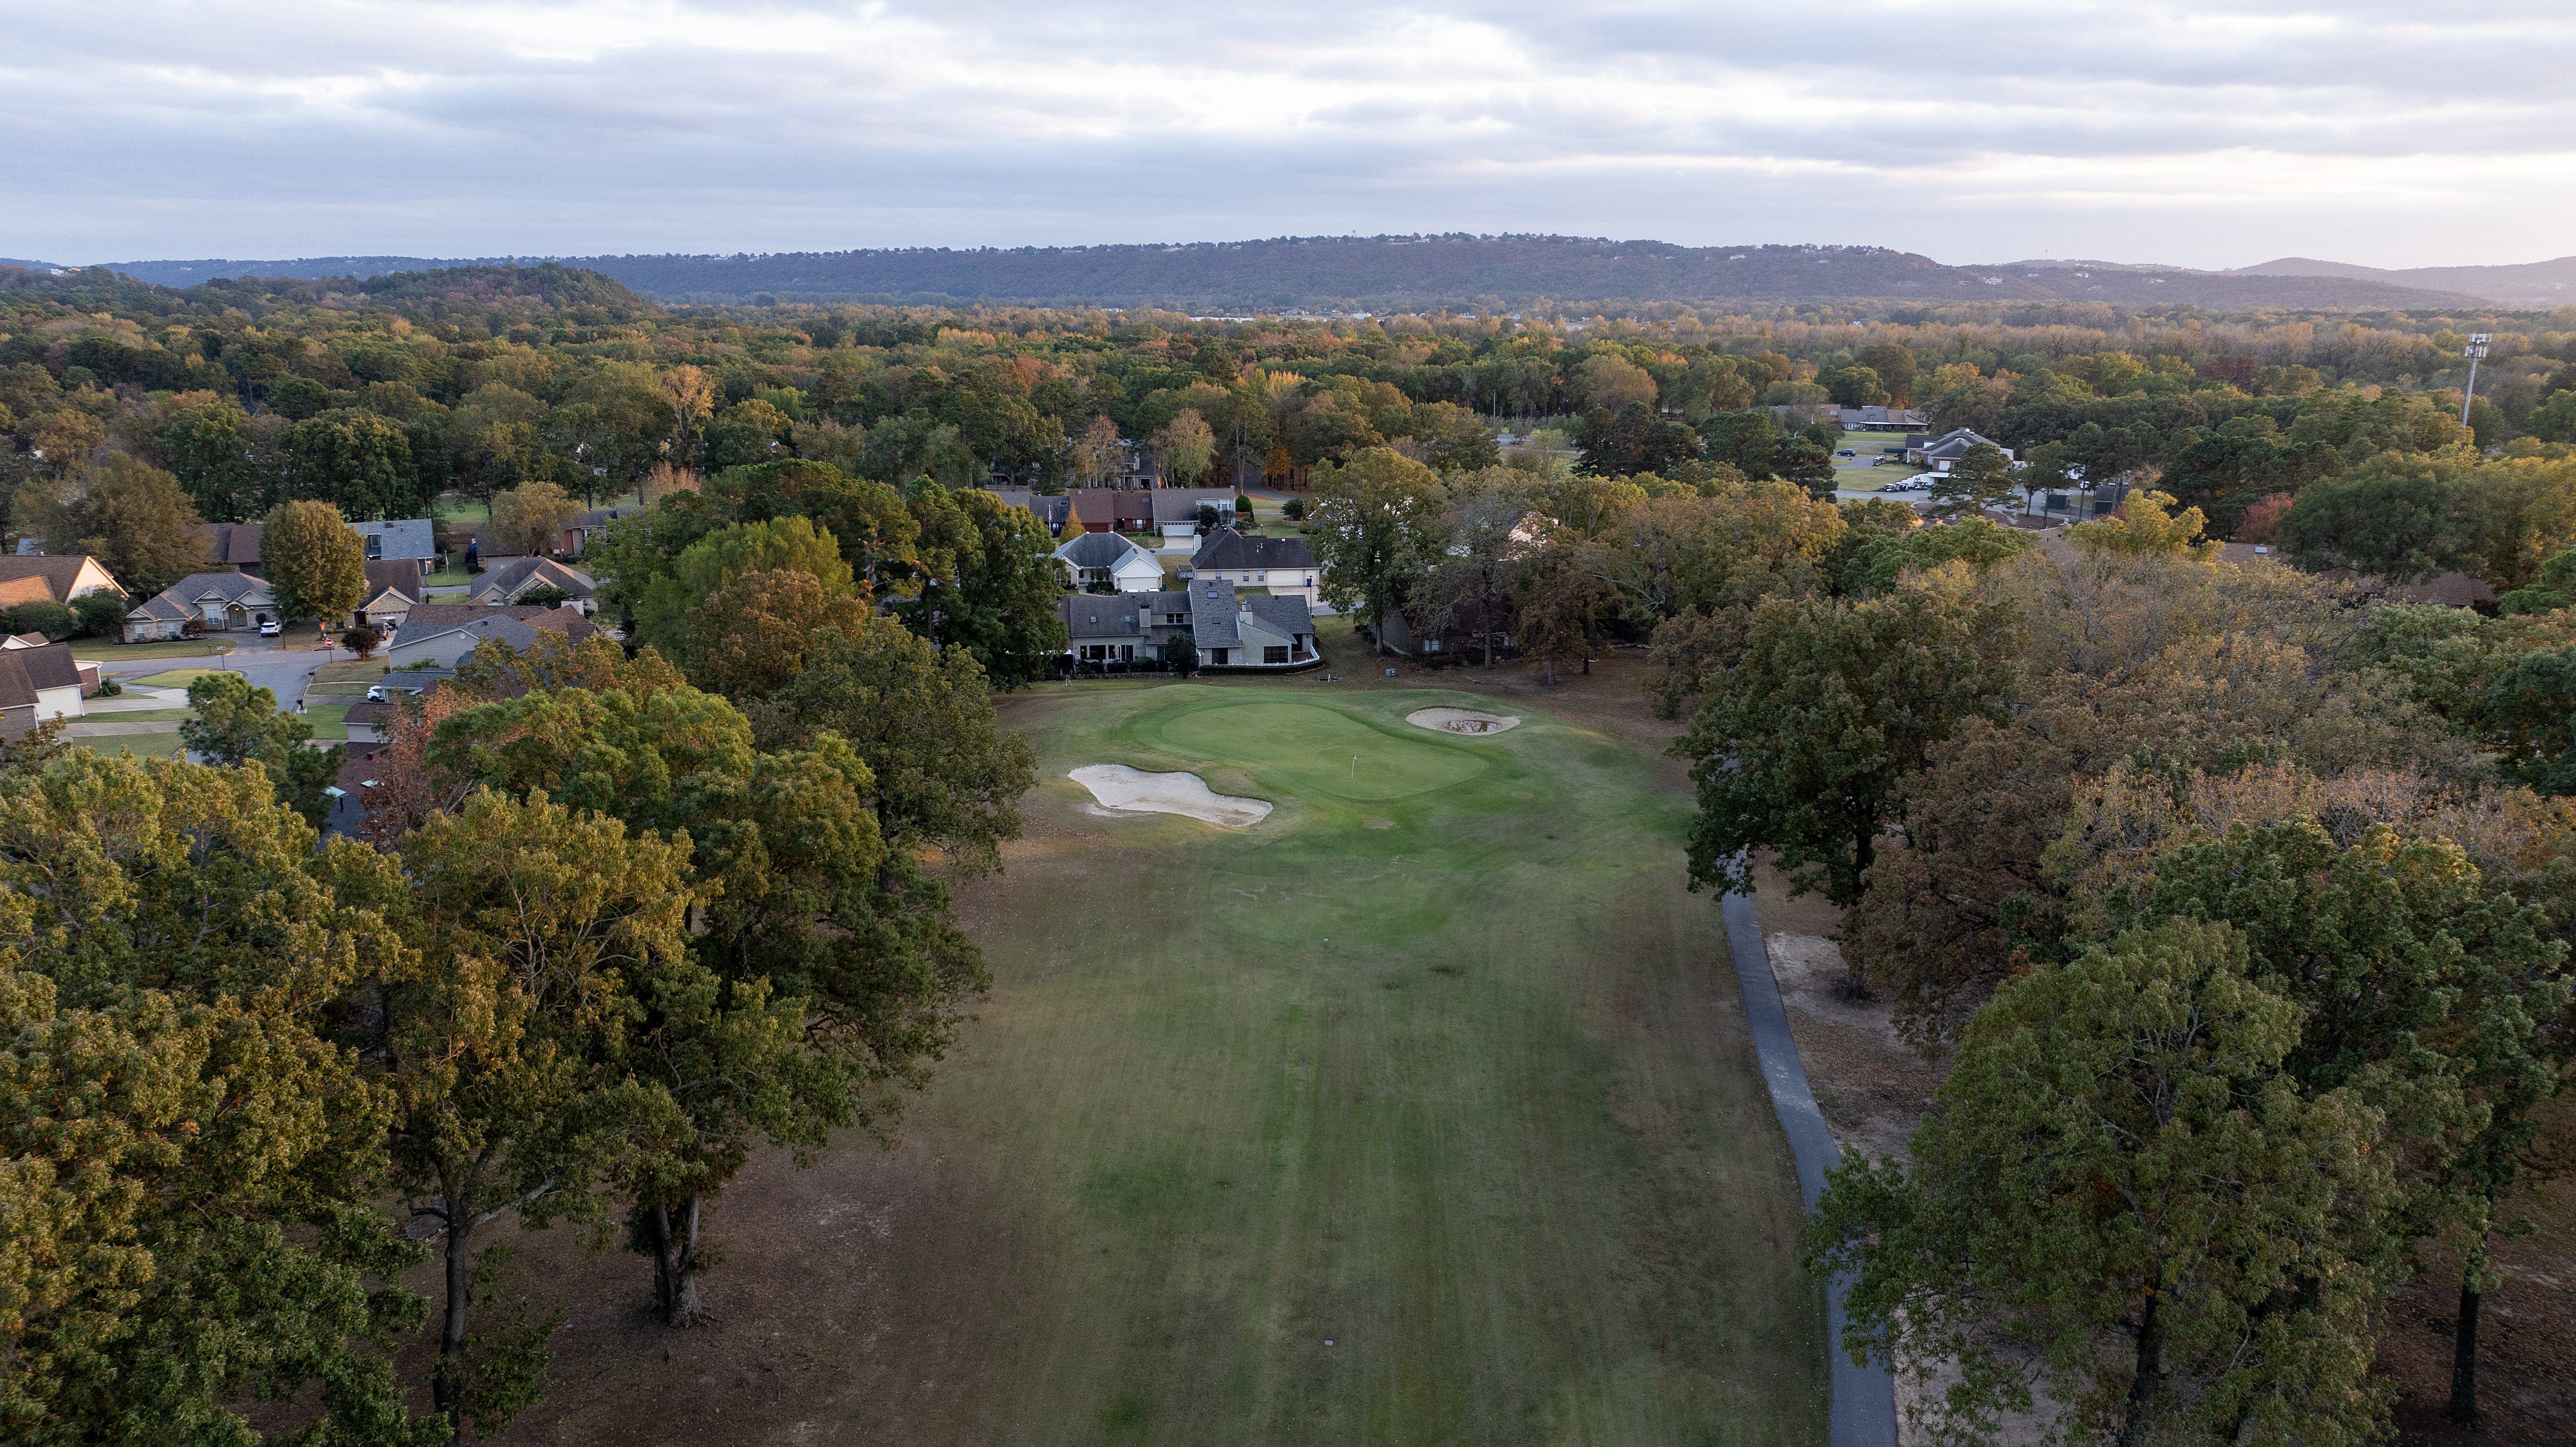
Hole #3
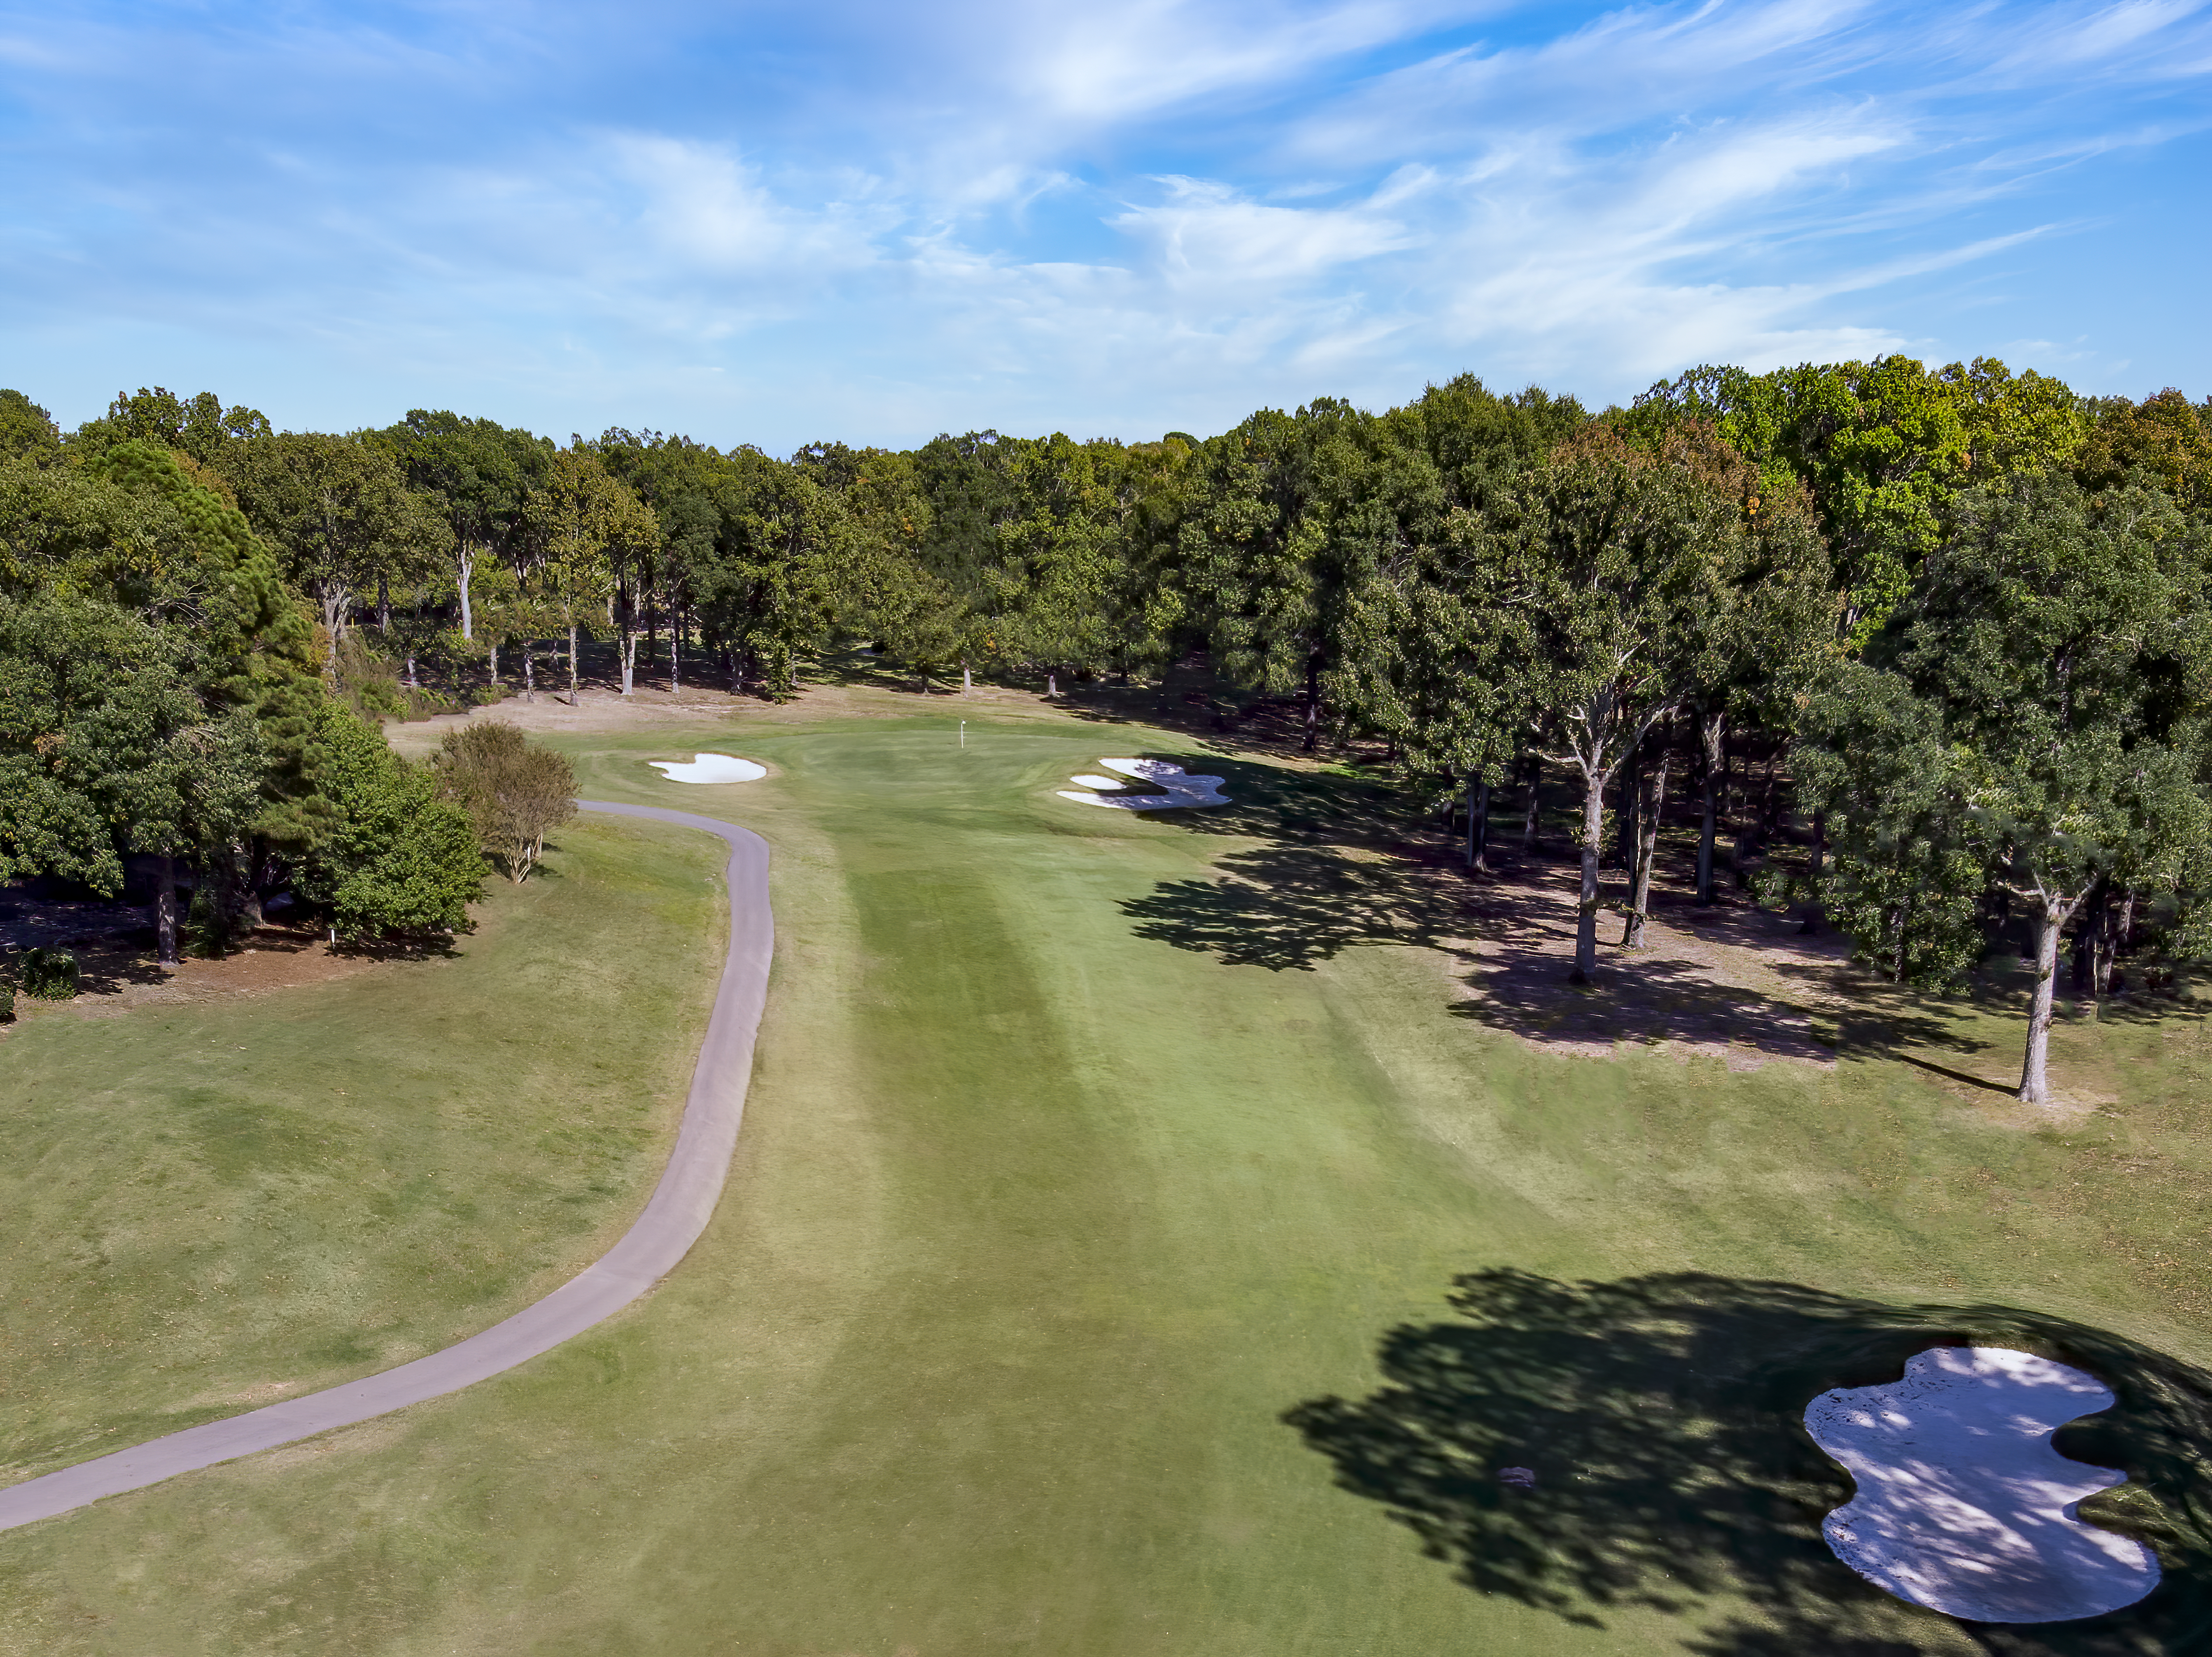
One of the few holes that you may want to play more conservatively off of the tee. There is a fairway bunker on the right side and the fairway slopes to the left towards the creek. The green is over 40 yards in length so be sure of your club selection.
Pro Tip: Favor the right side of the fairway off the tee as the fairway slopes left.
Par 4
Black 392 yards
Blue 379 yards
White 371 yards
Green 331 yards
Red 310 yards
Gold 251 yards
Pro Tip: Favor the right side of the fairway off the tee as the fairway slopes left.
Par 4
Black 392 yards
Blue 379 yards
White 371 yards
Green 331 yards
Red 310 yards
Gold 251 yards
Hole #4
A blind tee shot needs to avoid the bunkers and creek on the right side leaving you an uphill approach to a well bunkered green.
Pro Tip: Approach shots plays uphill so make sure to take enough club.
Par 4
Black 409 yards
Blue 390 yards
White 377 yards
Green 342 yards
Red 316 yards
Gold 268 yards
Pro Tip: Approach shots plays uphill so make sure to take enough club.
Par 4
Black 409 yards
Blue 390 yards
White 377 yards
Green 342 yards
Red 316 yards
Gold 268 yards
Hole #5
The fifth hole is a medium-length par 3 with two bunkers, one short left and one long right. Hole locations on the right side of the green are unguarded, while hole locations on the left can get a bit more dangerous. This par 3 demands a well struck shot off the tee to find the green. There is out of bounds left and long.
Pro Tip: Take an extra club to cover the bunker to any hole locations on the left side.
Par 3
Black 206 yards
Blue 197 yards
White 180 yards
Green 148 yards
Red 134 yards
Gold 130 yards
Pro Tip: Take an extra club to cover the bunker to any hole locations on the left side.
Par 3
Black 206 yards
Blue 197 yards
White 180 yards
Green 148 yards
Red 134 yards
Gold 130 yards
Hole #6
A difficult dogleg right Par 5 with out of bounds on the left and right off the tee. Accuracy here is more important than a long drive. A drive down the left side will leave an unobstructed shot to the green.
Pro Tip: Play your tee shot down the left side of fairway and favor the left side of the green on approach shots.
Par 5
Black 581 yards
Blue 555 yards
White 529 yards
Green 444 yards
Red 408 yards
Gold 403 yards
Pro Tip: Play your tee shot down the left side of fairway and favor the left side of the green on approach shots.
Par 5
Black 581 yards
Blue 555 yards
White 529 yards
Green 444 yards
Red 408 yards
Gold 403 yards
Hole #7
An accurate tee shot is important here to avoid the fairway bunkers on the left and right. A long drive down the right hand side will catch the right to left slope of the fairway and run toward the green. Long and left of the green is trouble.
Pro Tip: Play your tee shot down the right side of fairway for more distance. Don't get to aggressive to a front hole location.
Par 4
Black 411 yards
Blue 399 yards
White 377 yards
Green 327 yards
Red 290 yards
Gold 282 yards
Pro Tip: Play your tee shot down the right side of fairway for more distance. Don't get to aggressive to a front hole location.
Par 4
Black 411 yards
Blue 399 yards
White 377 yards
Green 327 yards
Red 290 yards
Gold 282 yards
Golf Course
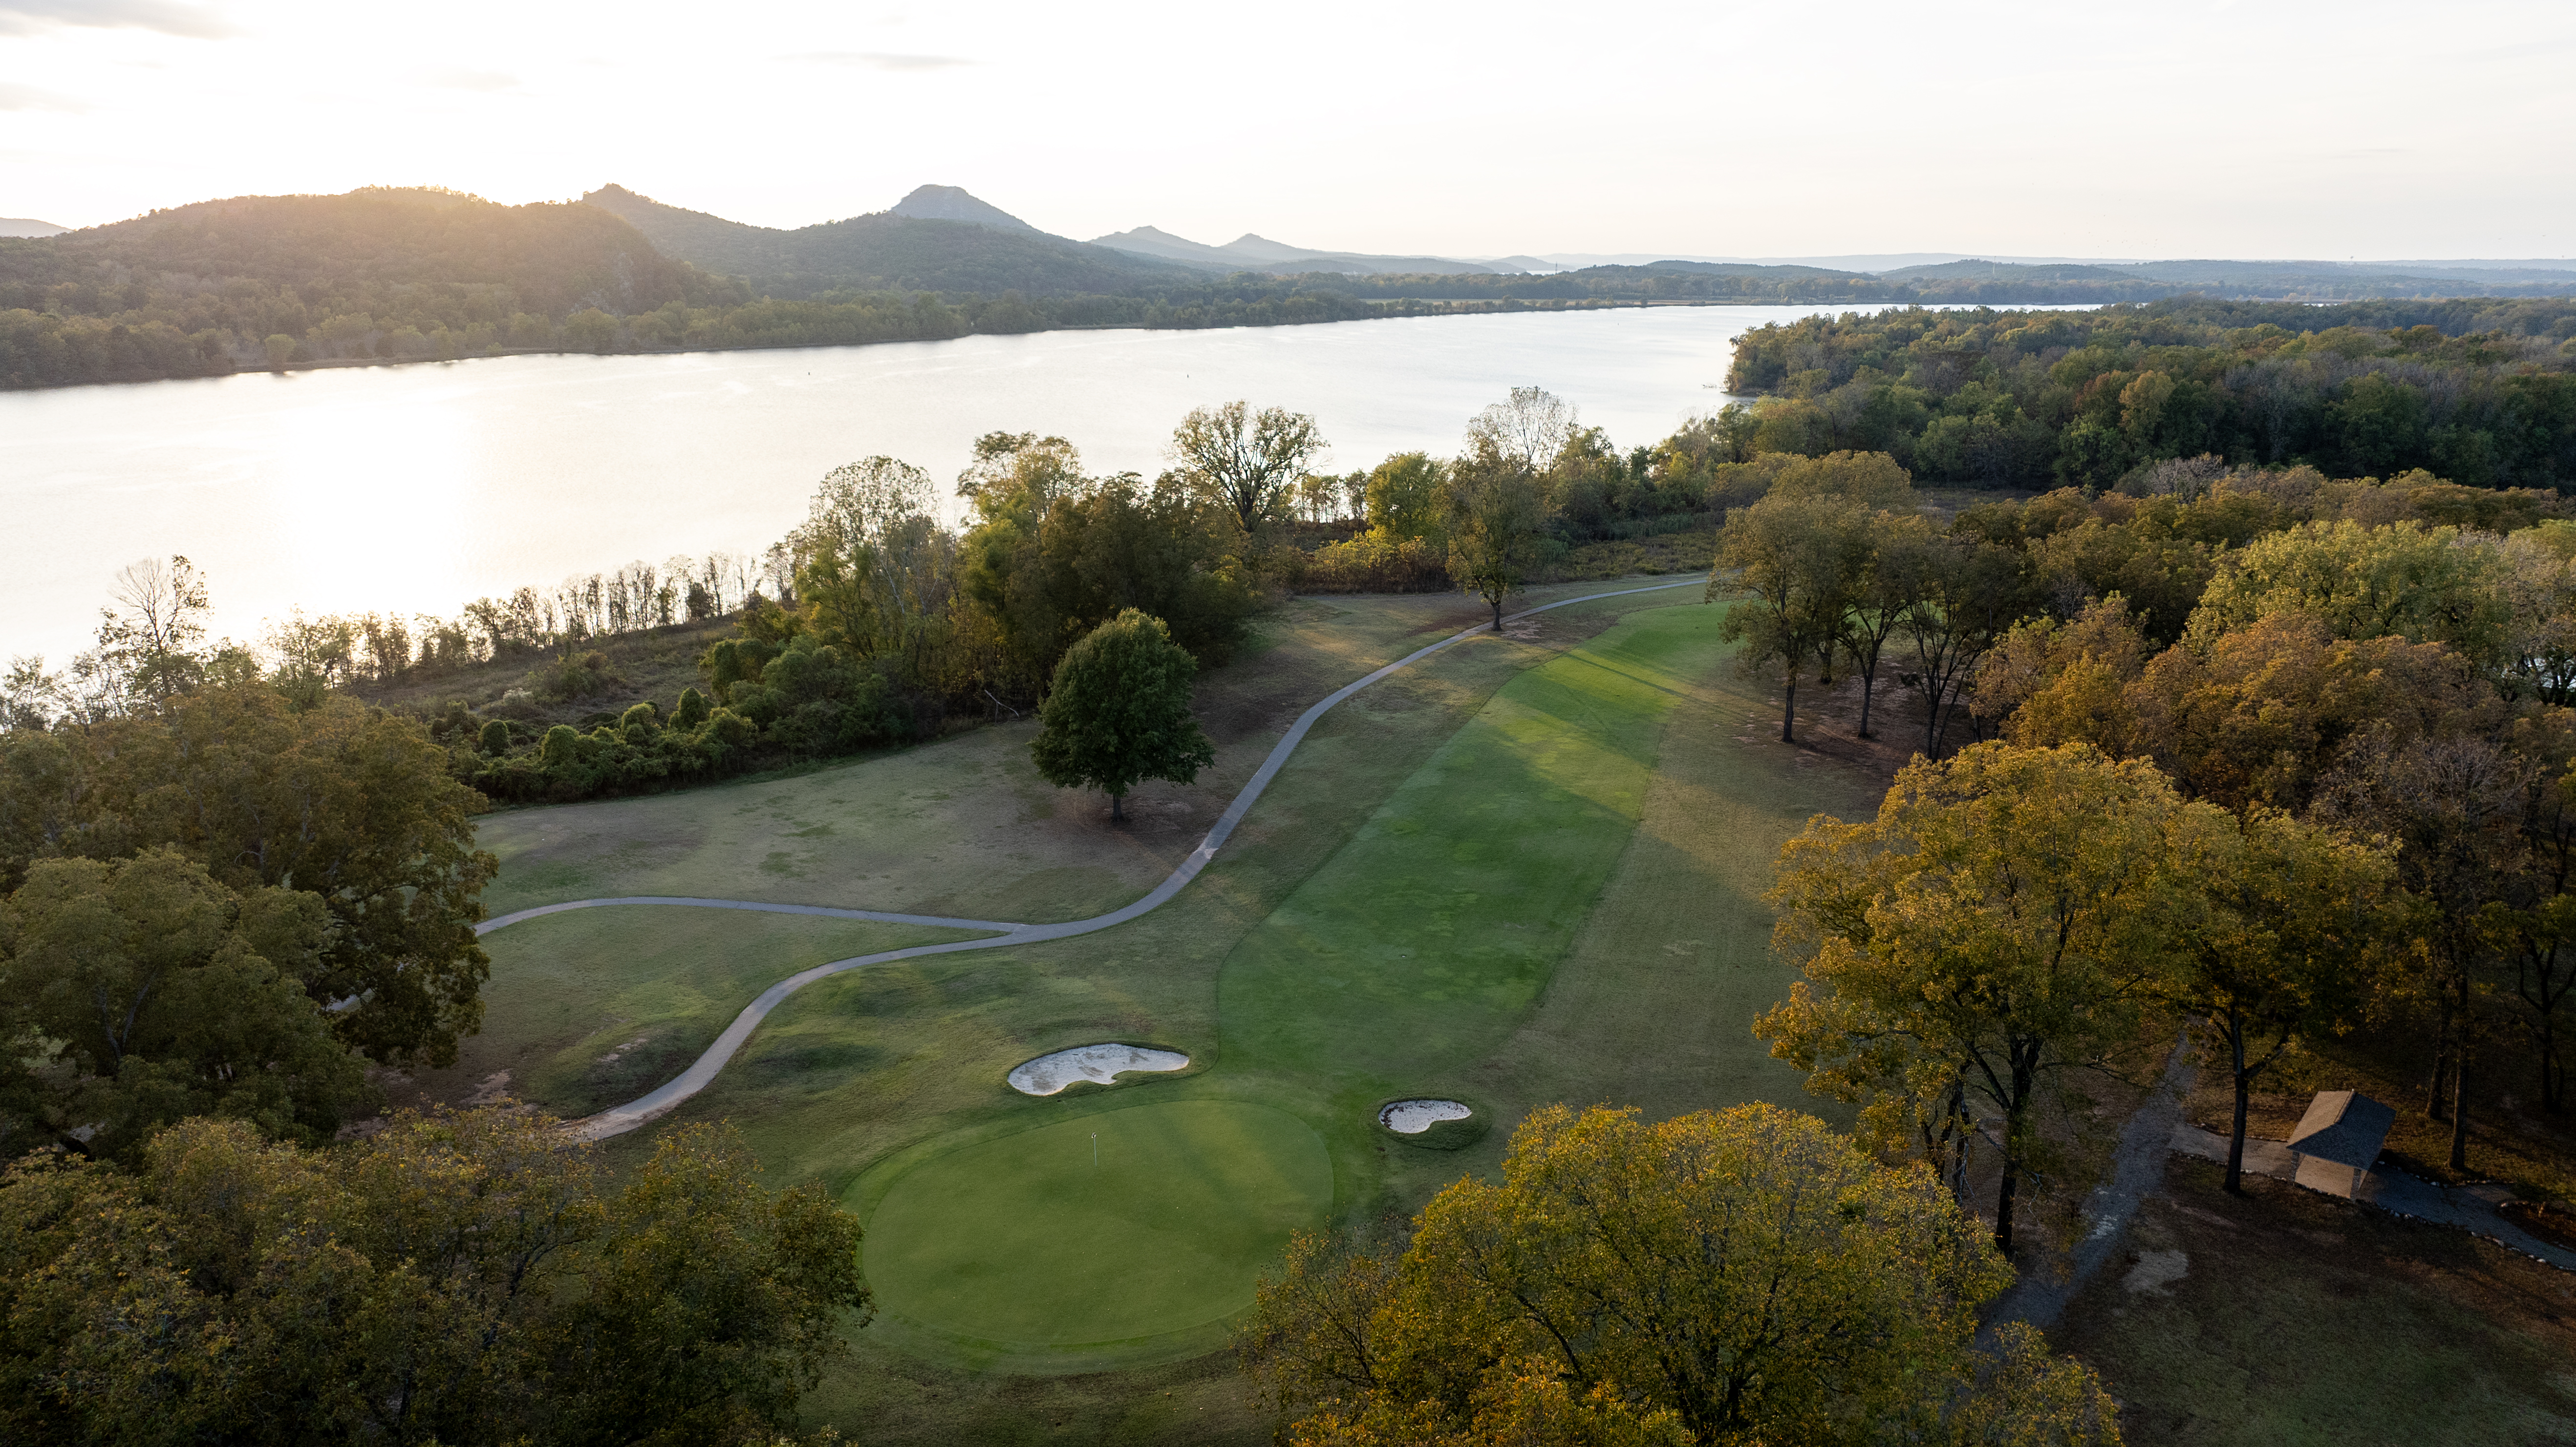
Hole #8
The signature hole at MCC #8 certainly offers golfers a challenge. This beautiful Par 3 can make or break your front nine. The hole plays down hill to a very undulating green. The wind seems to always be swirling and hard to figure out.
Pro Tip: Use the undulation to feed the ball to the hole location.
Par 3
Black 182 yards
Blue 162 yards
White 157 yards
Green 137 yards
Red 122 yards
Gold 107 yards
Pro Tip: Use the undulation to feed the ball to the hole location.
Par 3
Black 182 yards
Blue 162 yards
White 157 yards
Green 137 yards
Red 122 yards
Gold 107 yards
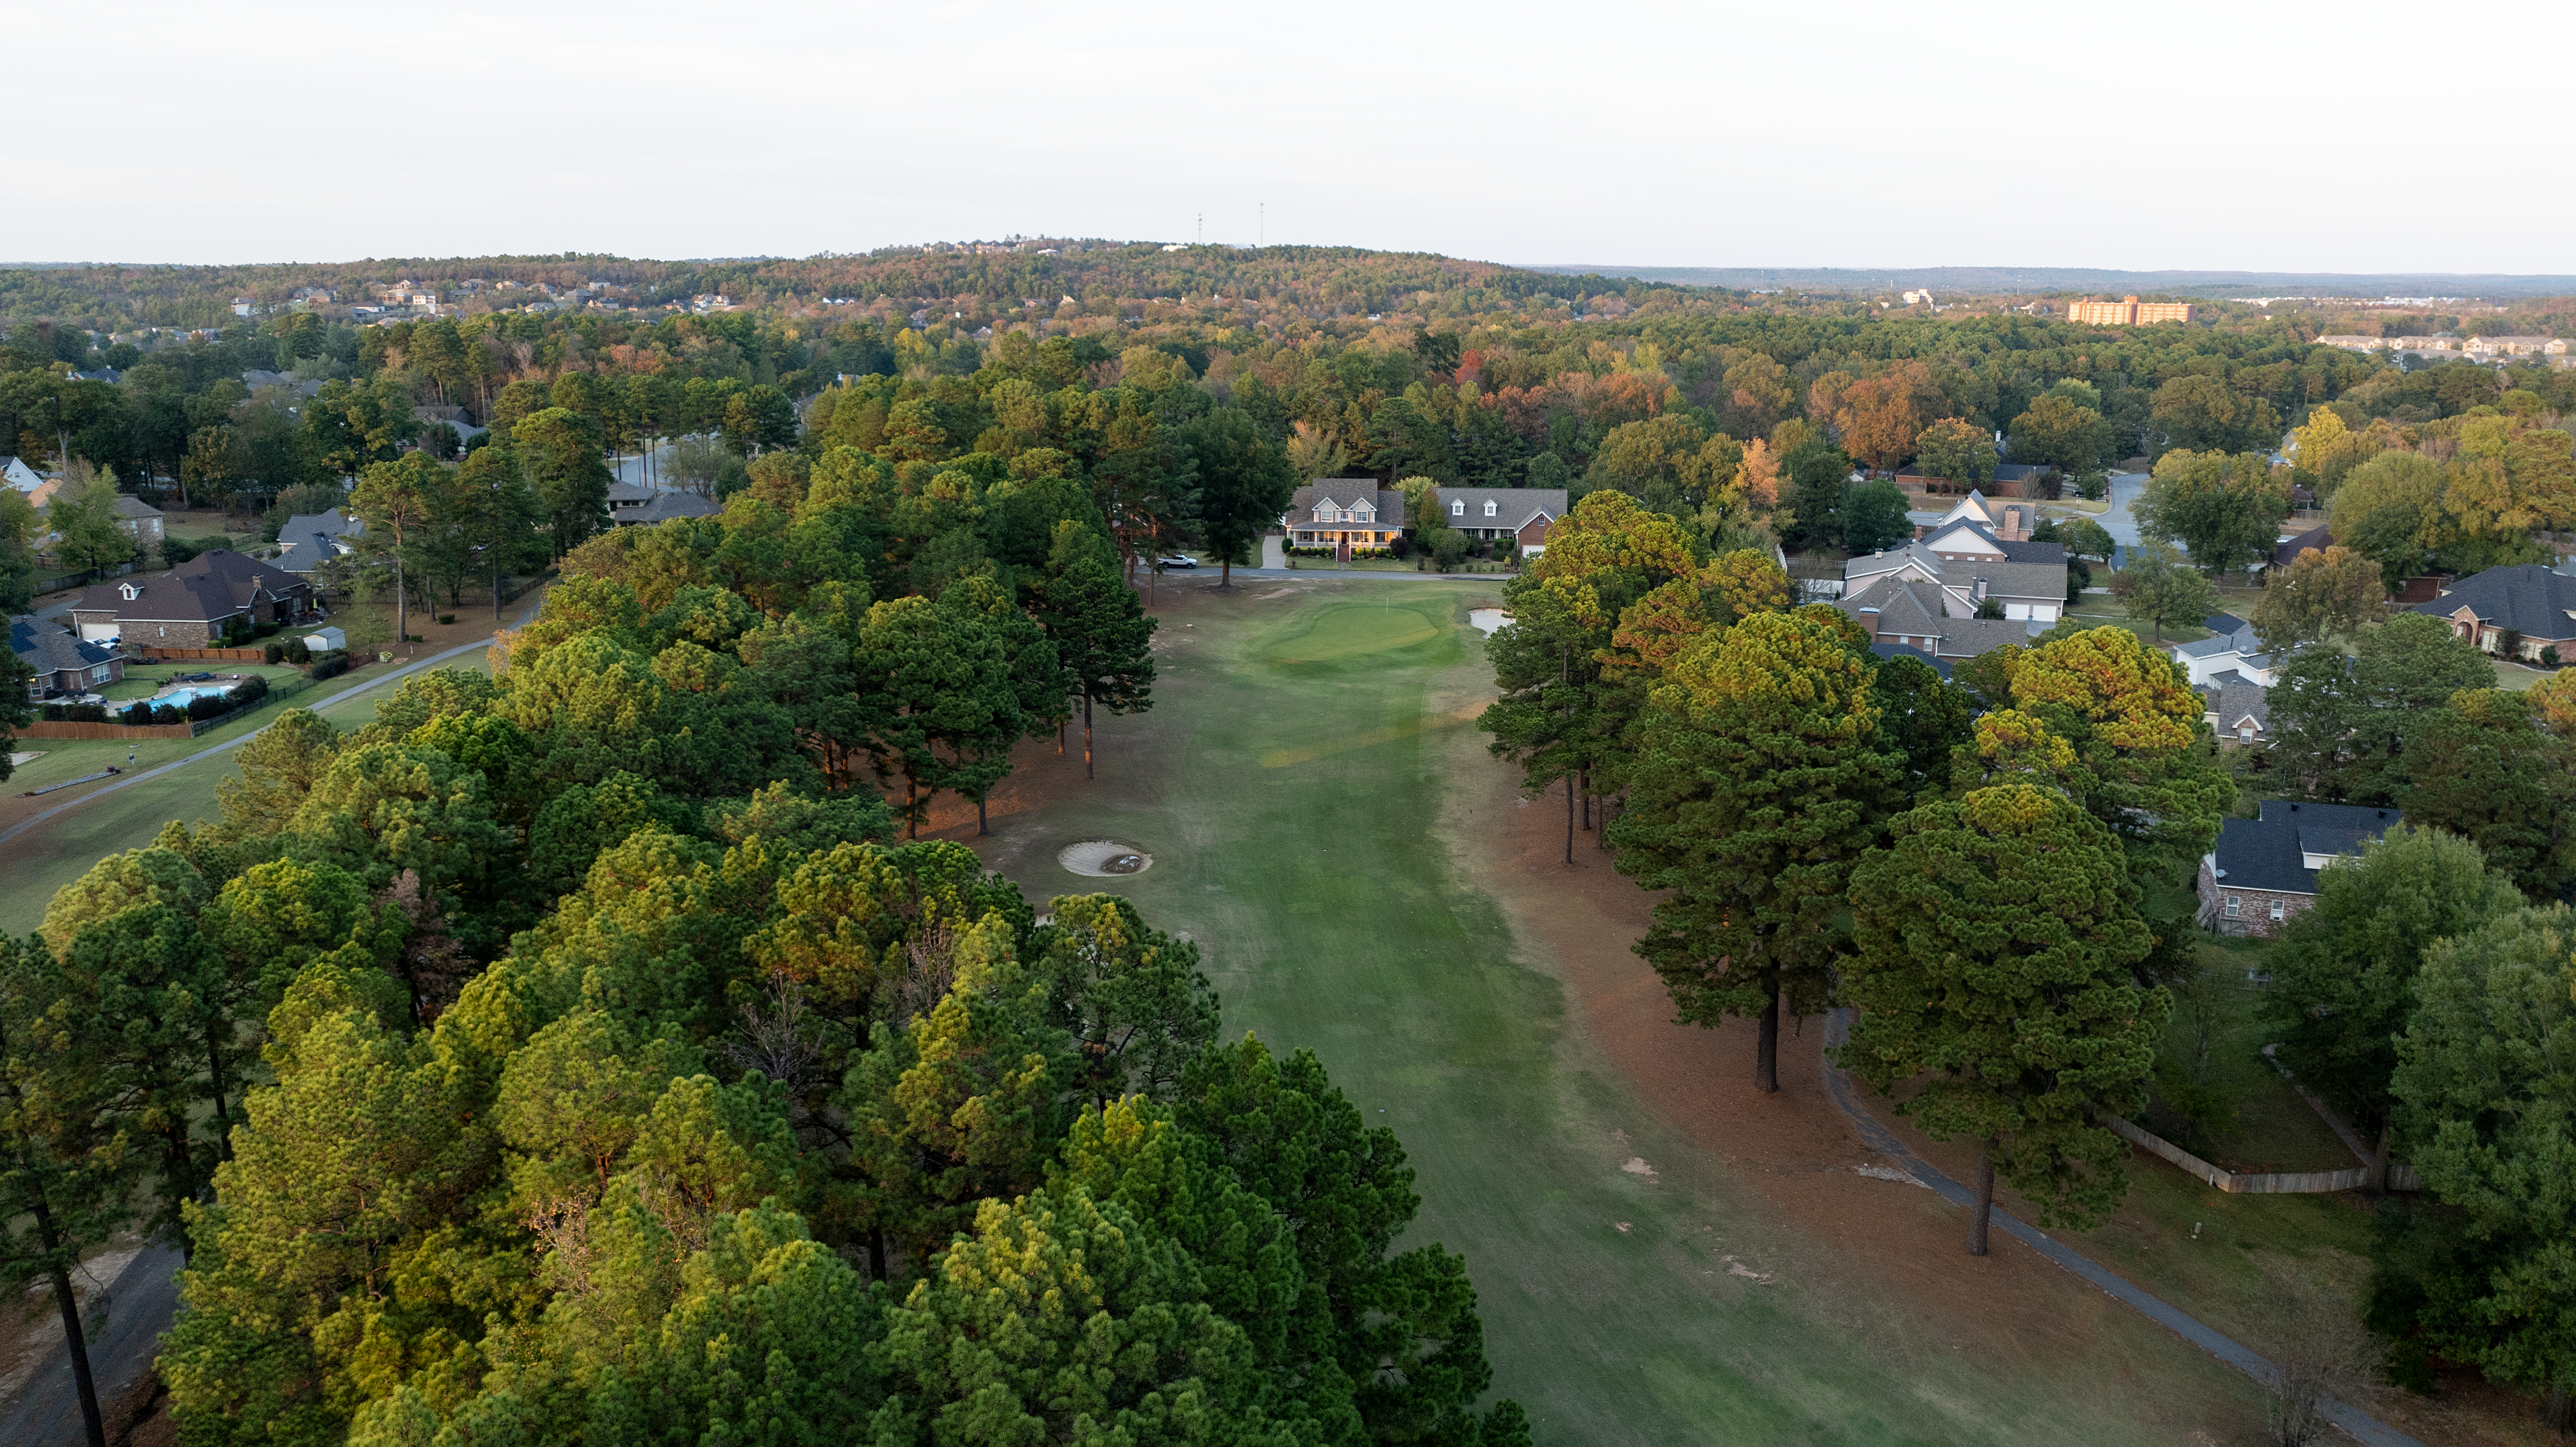
Hole #9
A tee shot up the left side will roll down to a relatively flat lie in the fairway. Beware of the creek that crosses the fairway as a long drive can reach it. Also note the out of bounds on the left and right of the hole. An uphill approach to a two tiered green.
Pro Tip: Take an extra club to a back hole location.
Par 4
Black 436 yards
Blue 411 yards
White 375 yards
Green 345 yards
Red 338 yards
Gold 287 yards
Pro Tip: Take an extra club to a back hole location.
Par 4
Black 436 yards
Blue 411 yards
White 375 yards
Green 345 yards
Red 338 yards
Gold 287 yards
Hole #10
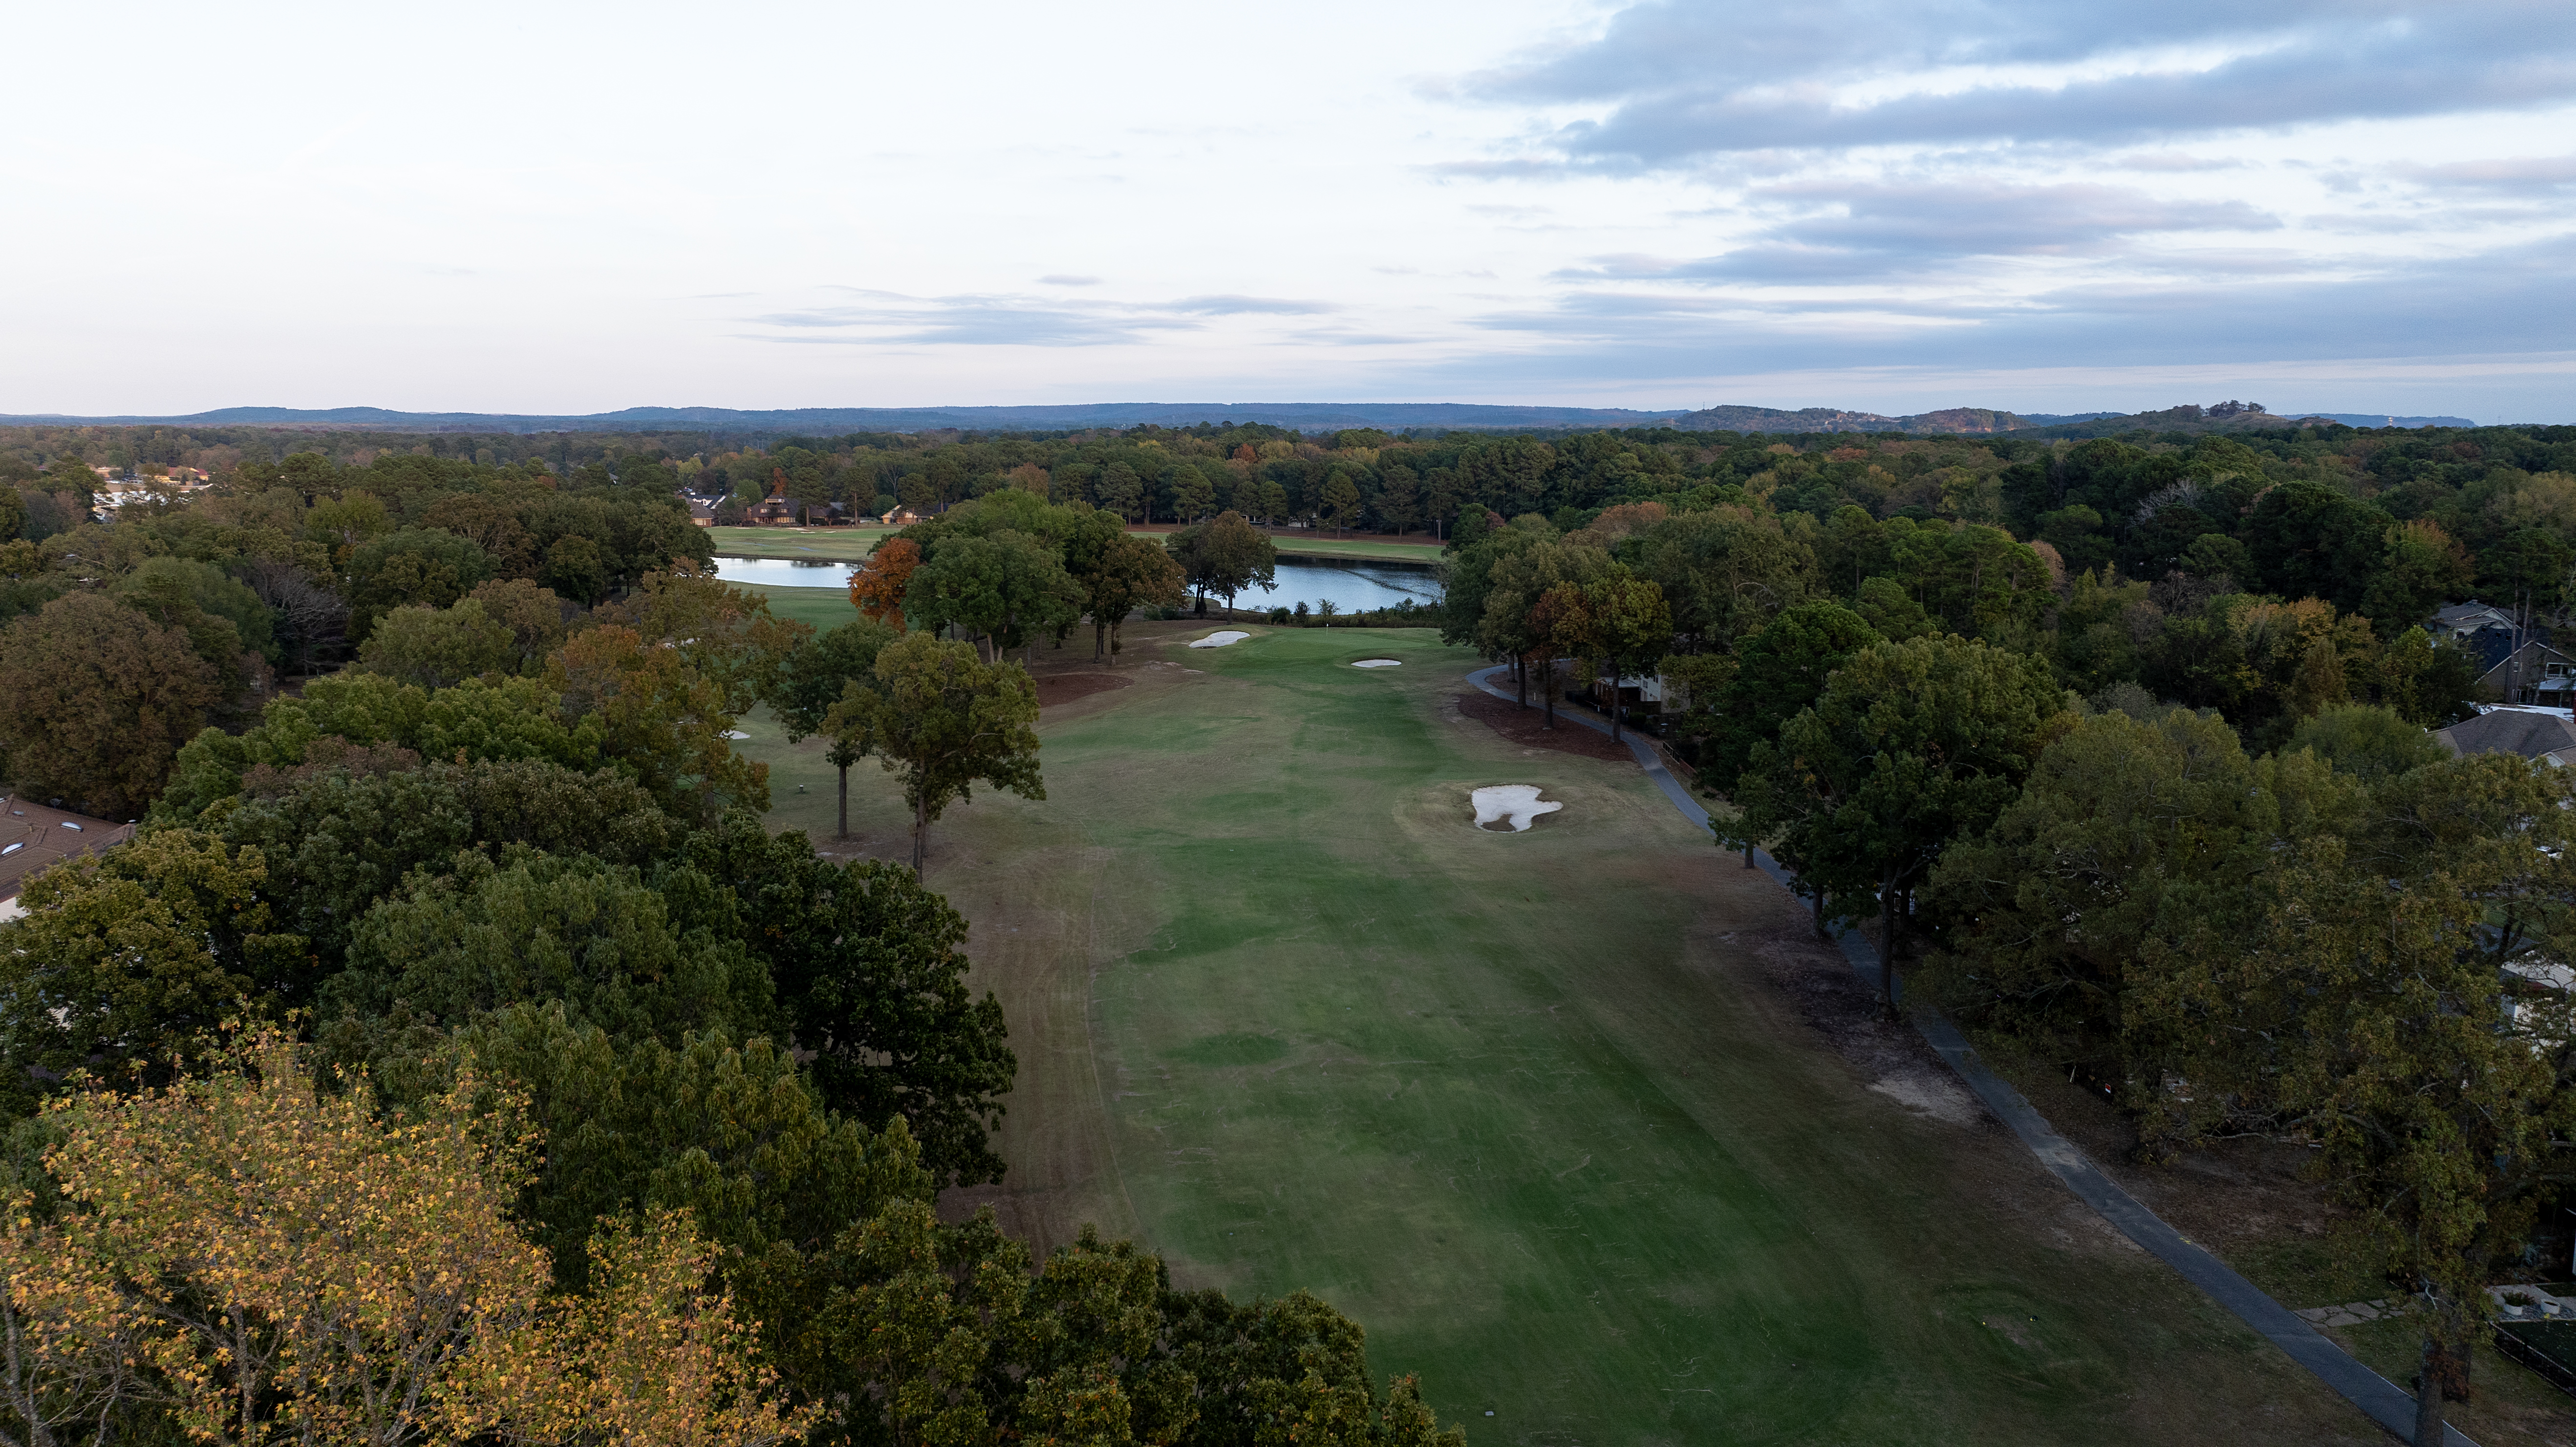
Rated as our number one handicap hole, the tenth hole is a long par 4 with out of bounds down the right side and a large pond through the fairway. A long, forced-carry on the approach shot sets up for one of the most difficult shots into a tricky green. This hole commands an accurate tee shot as well as a precise approach shot. Hole locations on the right side require tremendously accurate approach shots, while hole locations on the left side allow for more conservative approaches.
Pro Tip: Try to hit your tee shot short of the pond down the left-center of the fairway to leave yourself the best opportunity to make par... A birdie here will give you a great jump start to the back side.
Par 4
Black 452 yards
Blue 425 yards
White 355 yards
Green 305 yards
Red 299 yards
Gold 255 yards
Hole #11
A short but tough Par 4 with one of the most narrow fairways on the golf course. Players must drive it straight and play a precise iron shot into the green.
Pro Tip: Check the hole location before you tee off. Try and favor the opposite side of the fairway from the hole location as this will give you a better look into the green and avoid overhanging trees.
Par 4
Black 417 yards
Blue 399 yards
White 370 yards
Green 361 yards
Red 282 yards
Gold 277 yards
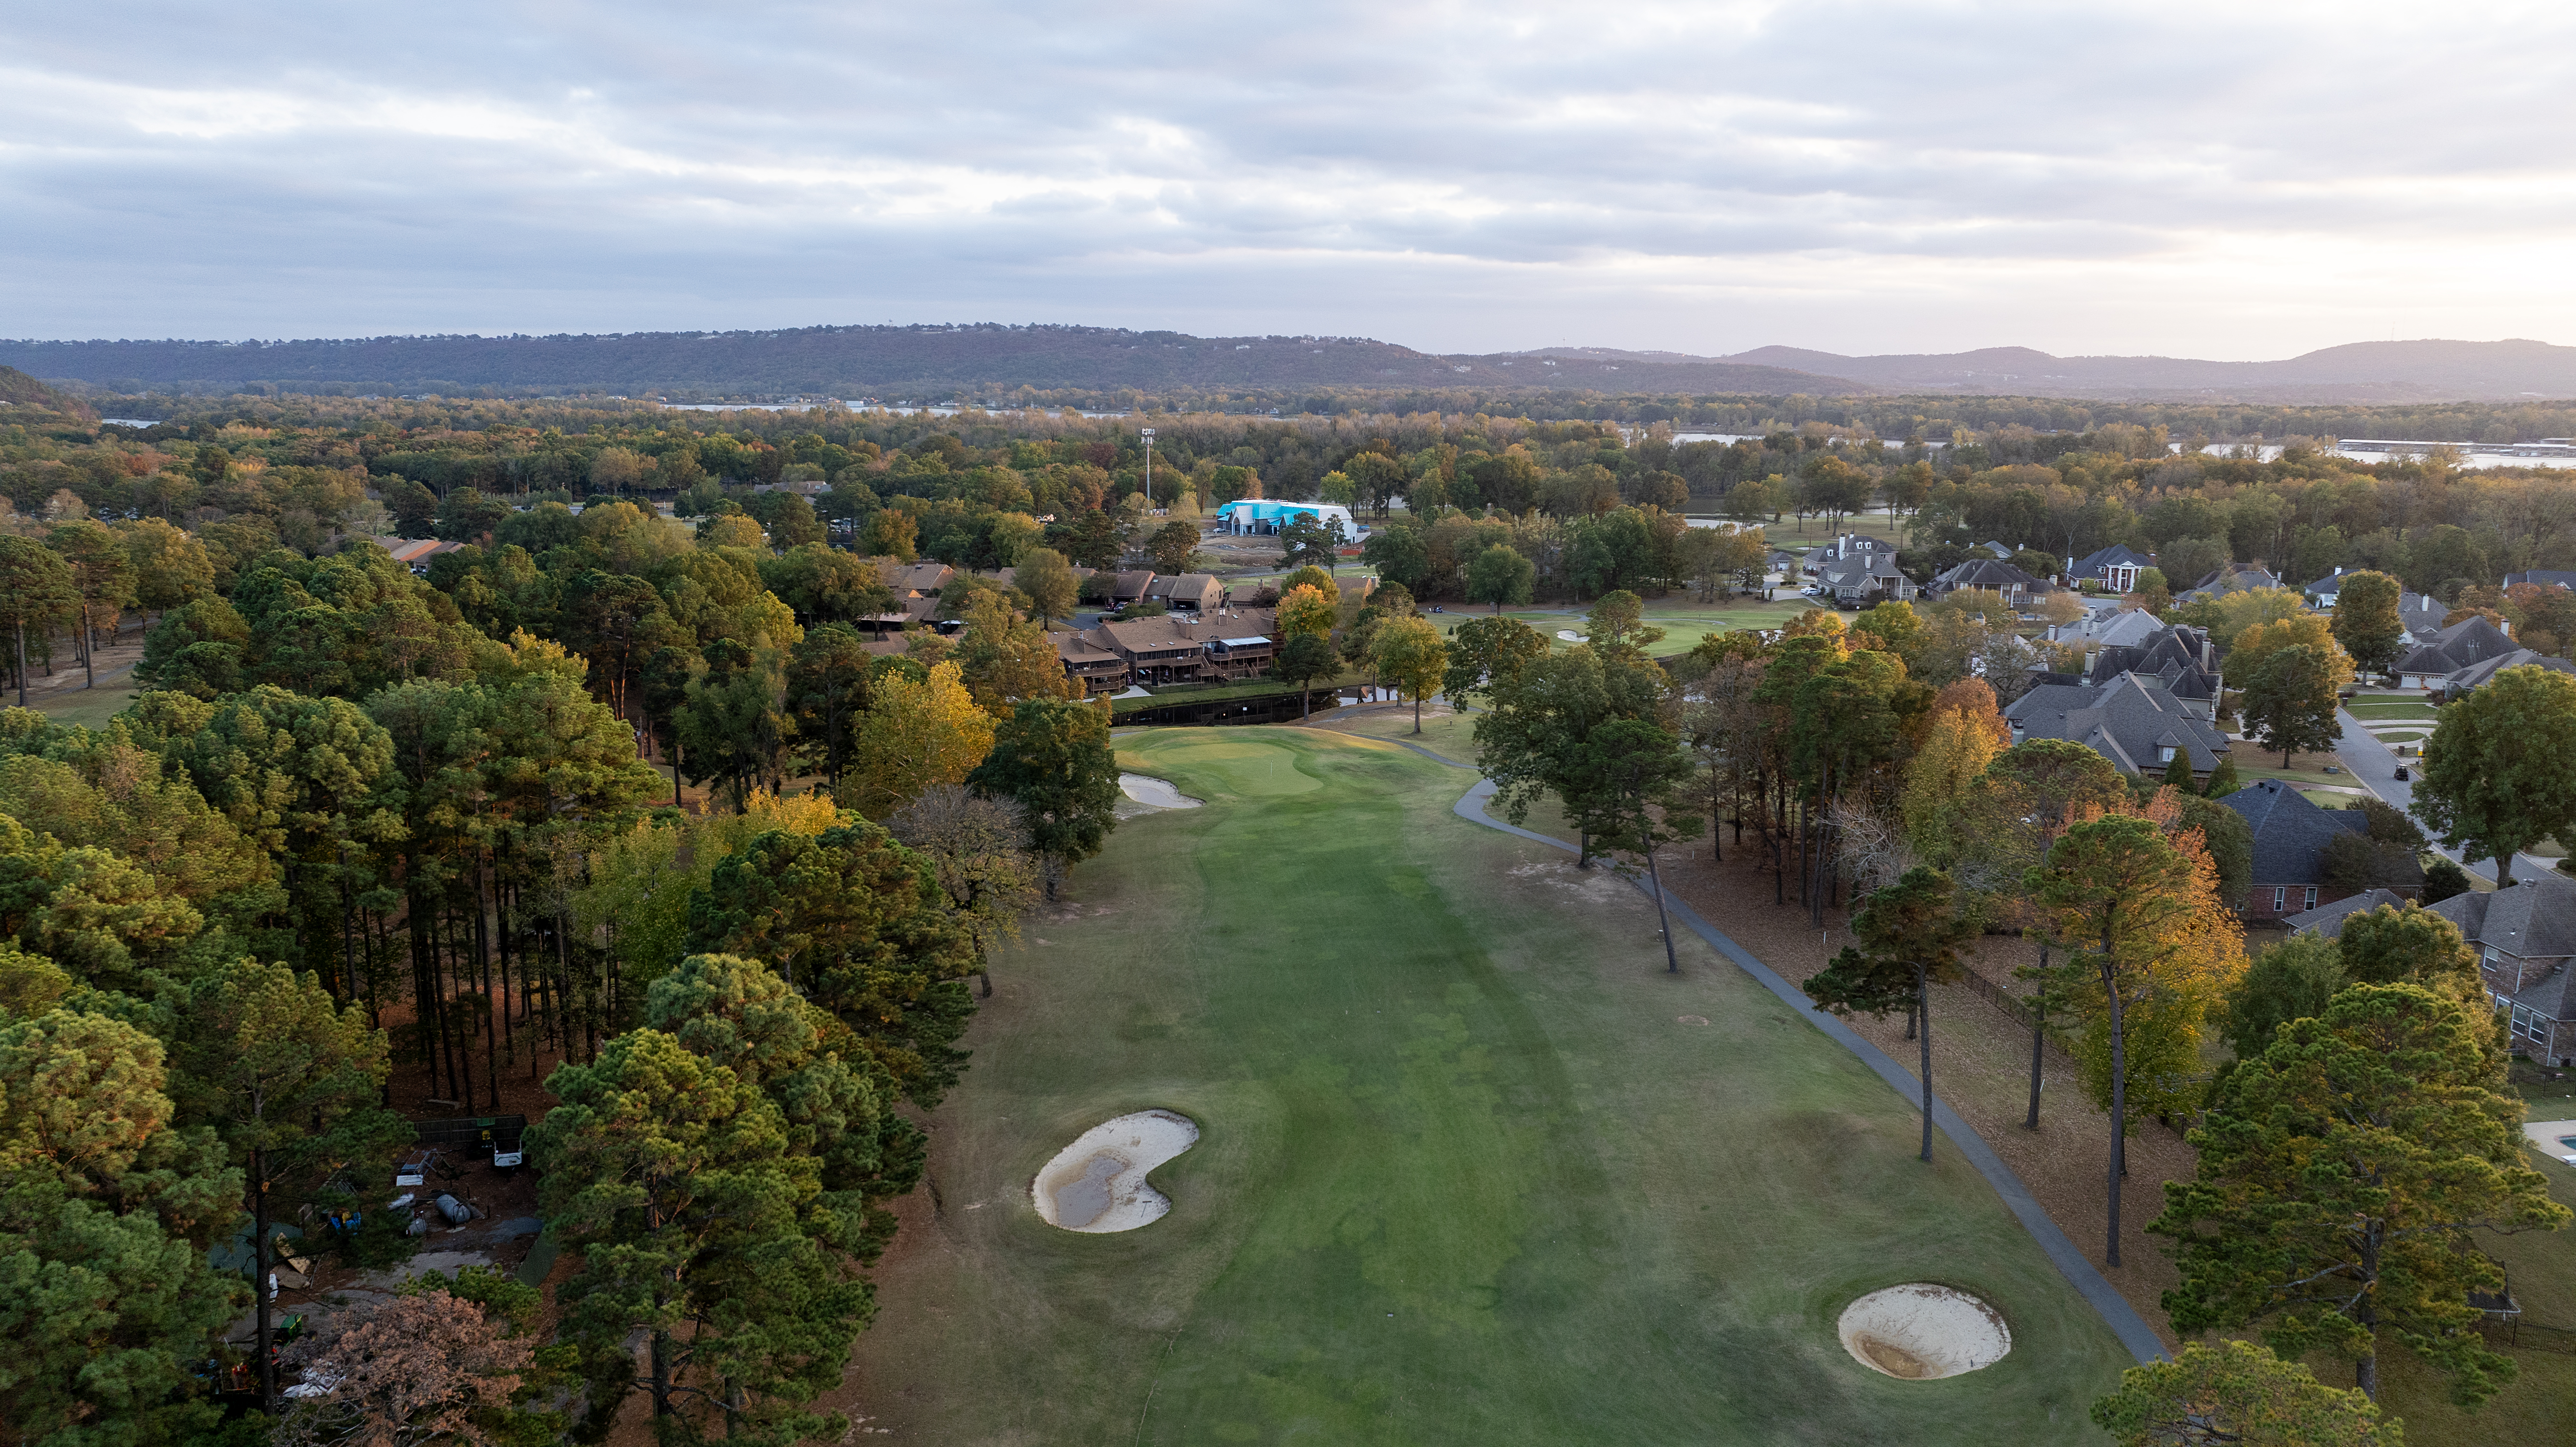
Hole #12
This is your typical 3 shot Par 5 with very few players reaching this one in two. Watch out for the penalty area hugging the right side of the fairway.
Pro Tip: Keep your drive and second shot down the left side of the fairway to give you the best look at the green.
Par 5
Black 609 yards
Blue 583 yards
White 518 yards
Green 477 yards
Red 468 yards
Gold 410 yards
Pro Tip: Keep your drive and second shot down the left side of the fairway to give you the best look at the green.
Par 5
Black 609 yards
Blue 583 yards
White 518 yards
Green 477 yards
Red 468 yards
Gold 410 yards
Hole #13
There is nothing easy about this Par 3. You must hit quality golf shots to walk off this green with par.
Pro Tip: Play aggressively to a right hole location and conservatively to a left hole location.
Par 3
Black 221 yards
Blue 188 yards
White 144 yards
Green 121 yards
Red 104 yards
Gold 100 yards
Pro Tip: Play aggressively to a right hole location and conservatively to a left hole location.
Par 3
Black 221 yards
Blue 188 yards
White 144 yards
Green 121 yards
Red 104 yards
Gold 100 yards
Hole #14
After the player finds the fairway, they are left with a mid iron to a medium sized green. This hole can sneak up and bite you.
Pro Tip: Play your tee shot down the left of the fairway to leave a shorter approach shot. This is a deep green so make sure to take enough club.
Par 4
Black 475 yards
Blue 442 yards
White 391 yards
Green 360 yards
Red 350 yards
Gold 300 yards
Pro Tip: Play your tee shot down the left of the fairway to leave a shorter approach shot. This is a deep green so make sure to take enough club.
Par 4
Black 475 yards
Blue 442 yards
White 391 yards
Green 360 yards
Red 350 yards
Gold 300 yards
Hole #15
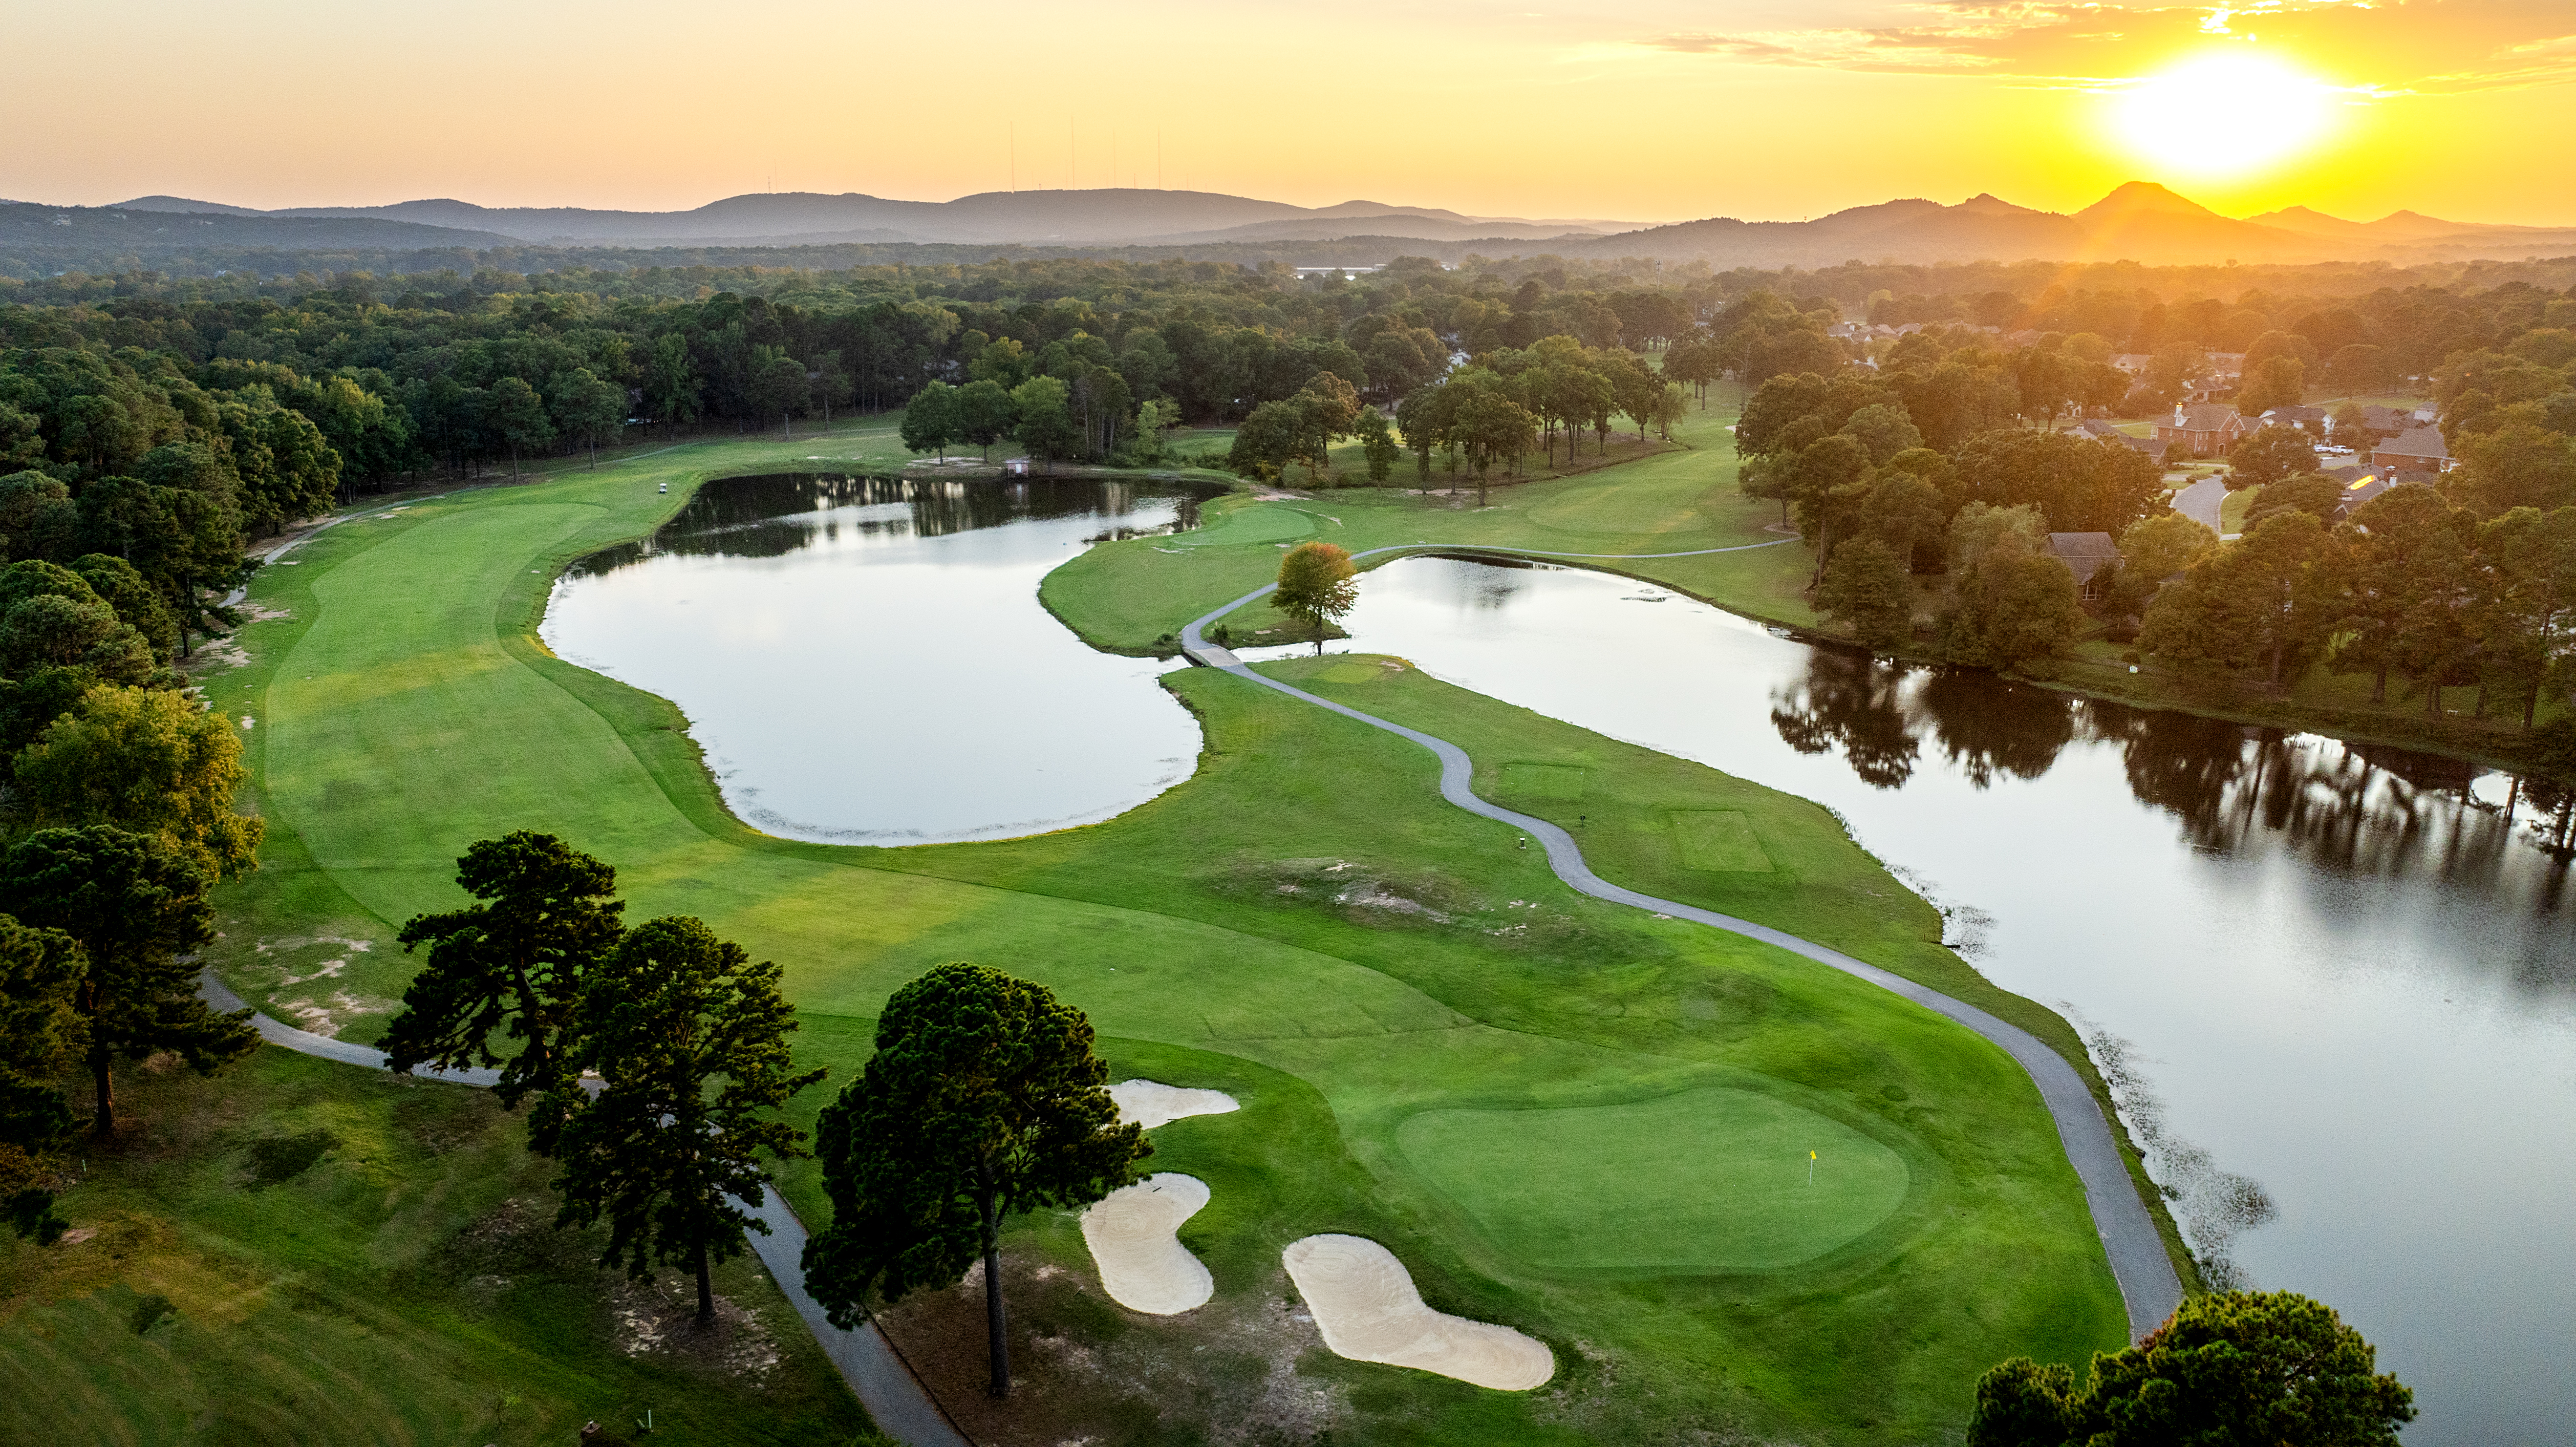
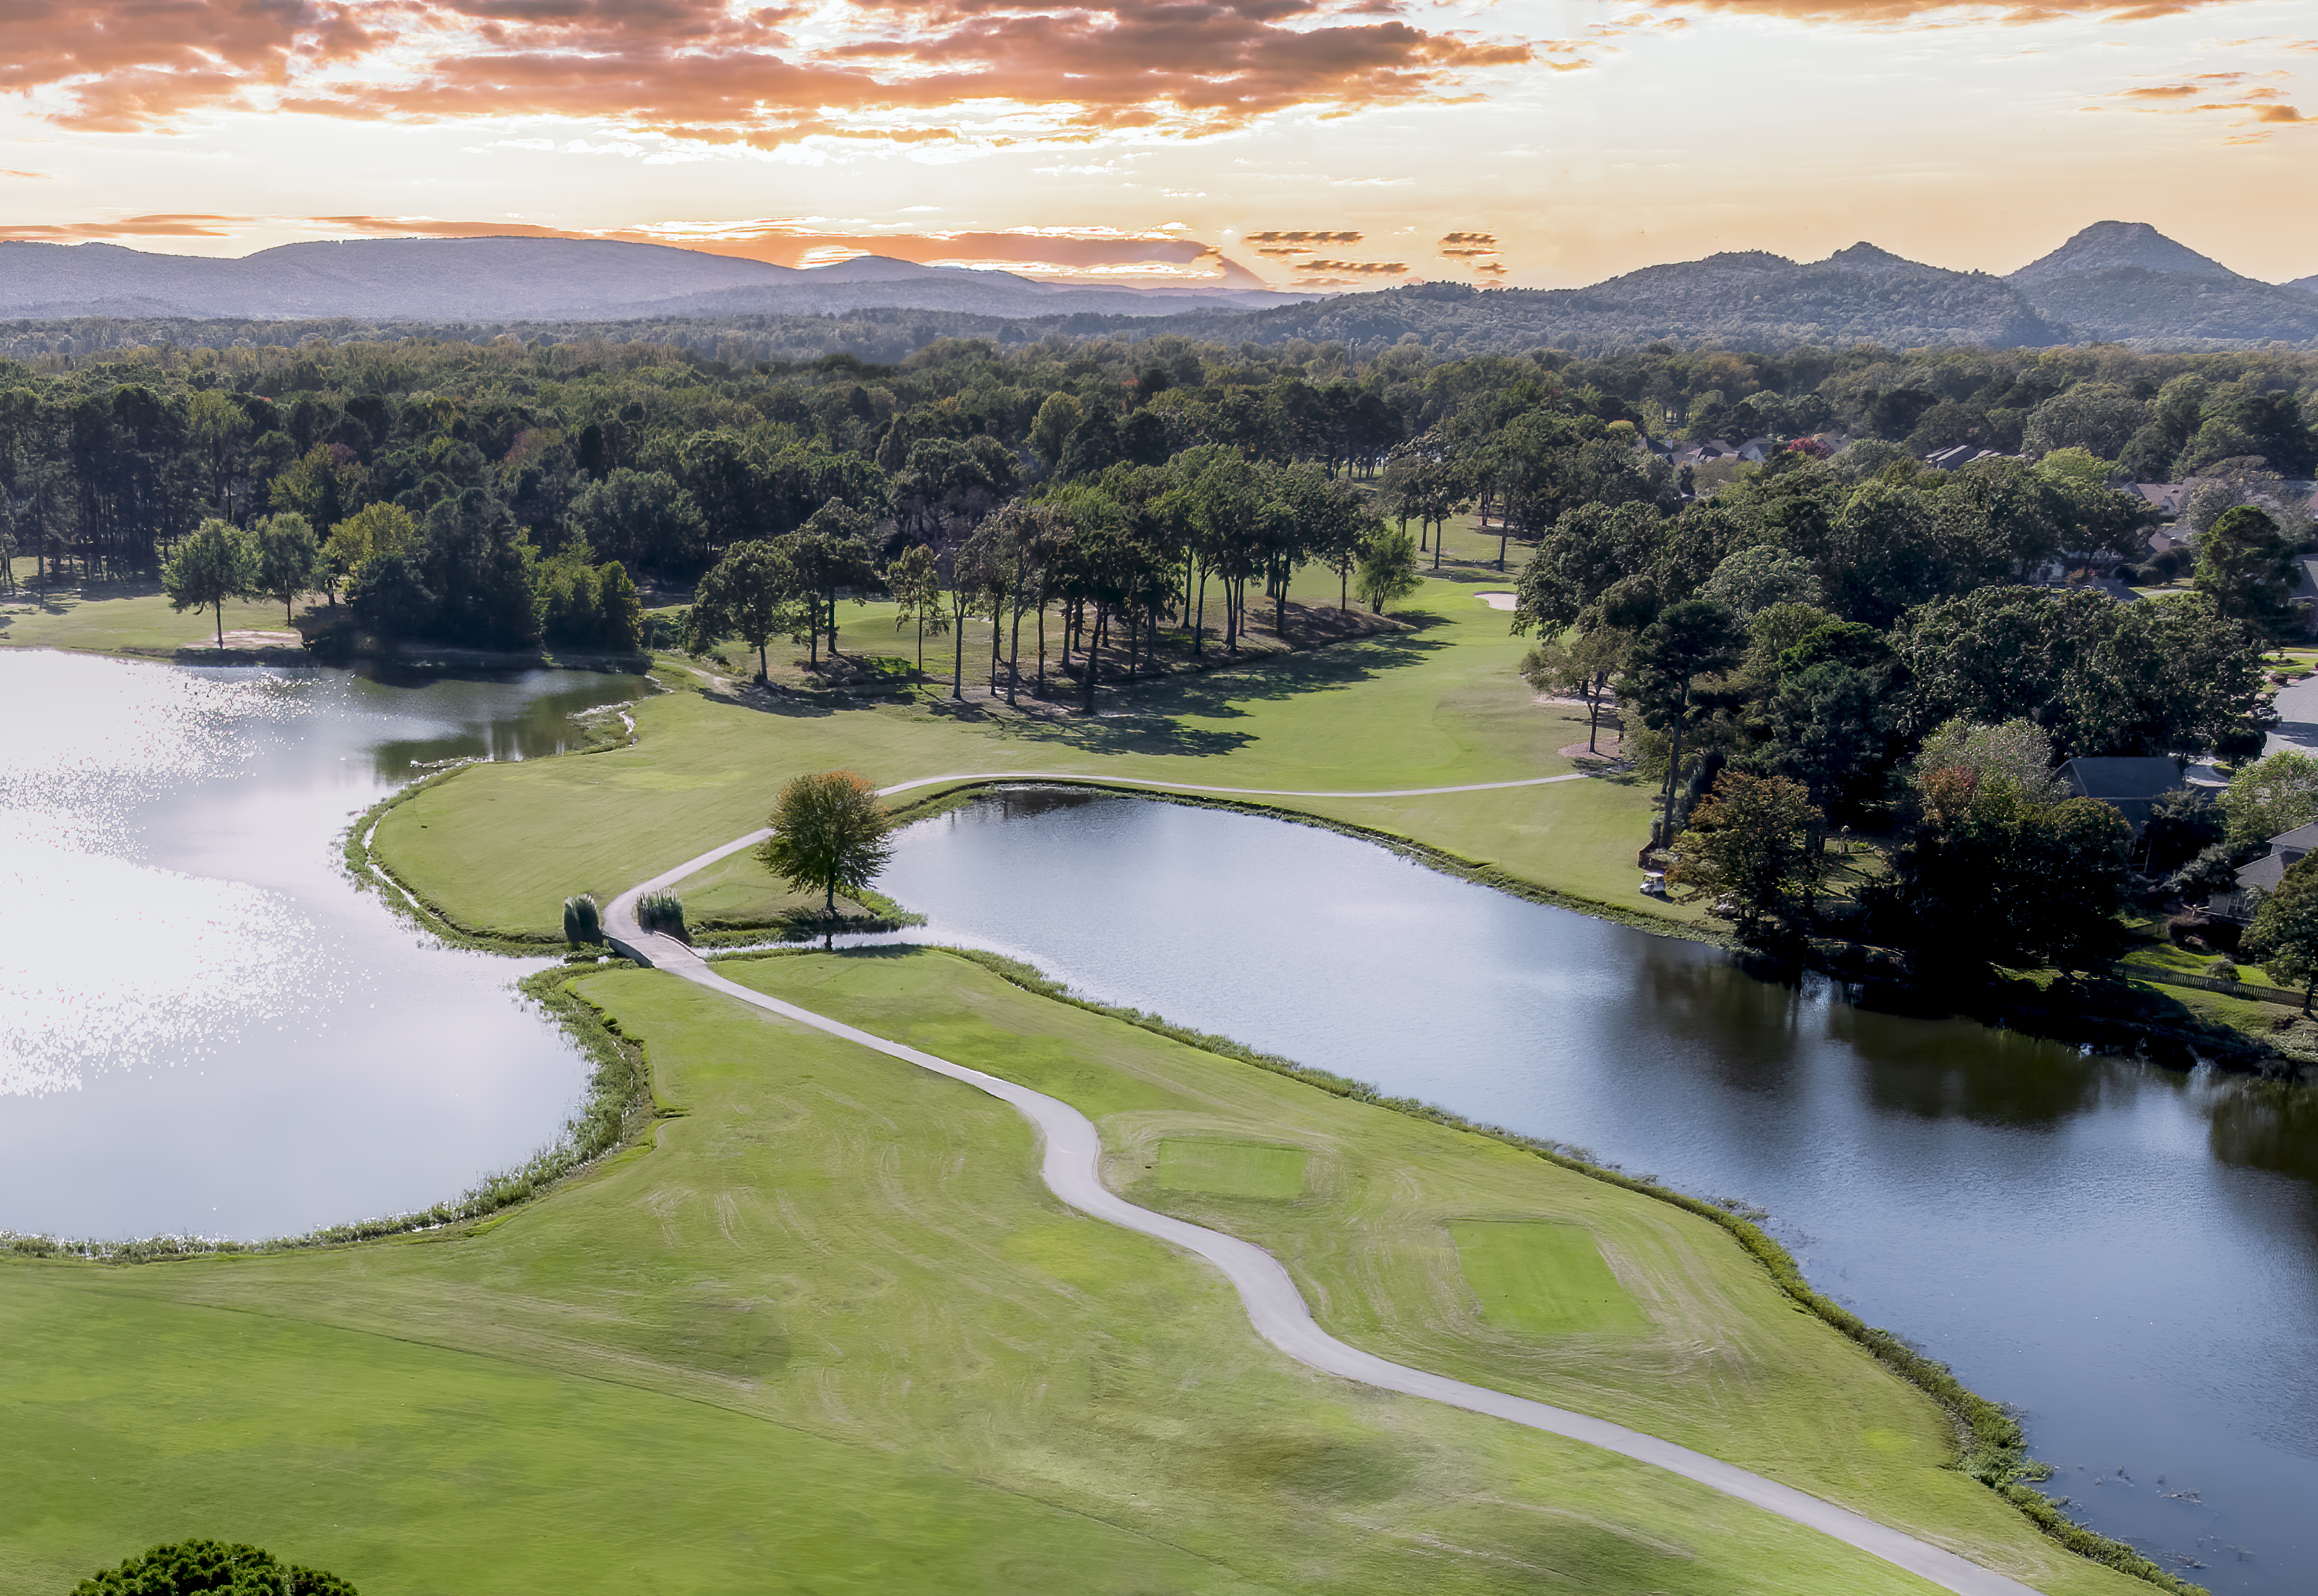
The first hole of "The Nautical Mile" (15-18) it is a must to hit the fairway off the tee. On your second shot, watch out for the fairway bunkers on the the right.
Pro Tip: Favor the left side off of the tee. Be careful on your approach to the front hole locations as the green slopes away from the center of the green and balls can roll off the green.
Par 5
Black 643 yards
Blue 581 yards
White 524 yards
Green 474 yards
Red 468 yards
Gold 419 yards
Pro Tip: Favor the left side off of the tee. Be careful on your approach to the front hole locations as the green slopes away from the center of the green and balls can roll off the green.
Par 5
Black 643 yards
Blue 581 yards
White 524 yards
Green 474 yards
Red 468 yards
Gold 419 yards
Hole #16
Coming down the stretch, this may be your last really good birdie opportunity. You must find the fairway. Most balls that don't, will not have a shot at the flag.
Pro Tip: Similar to Hole #11, check the hole location off the tee. Play to the opposite side of the fairway from the hole location.
Par 4
Black 395 yards
Blue 375 yards
White 354 yards
Green 347 yards
Red 281 yards
Gold 277 yards
Pro Tip: Similar to Hole #11, check the hole location off the tee. Play to the opposite side of the fairway from the hole location.
Par 4
Black 395 yards
Blue 375 yards
White 354 yards
Green 347 yards
Red 281 yards
Gold 277 yards
Hole #17
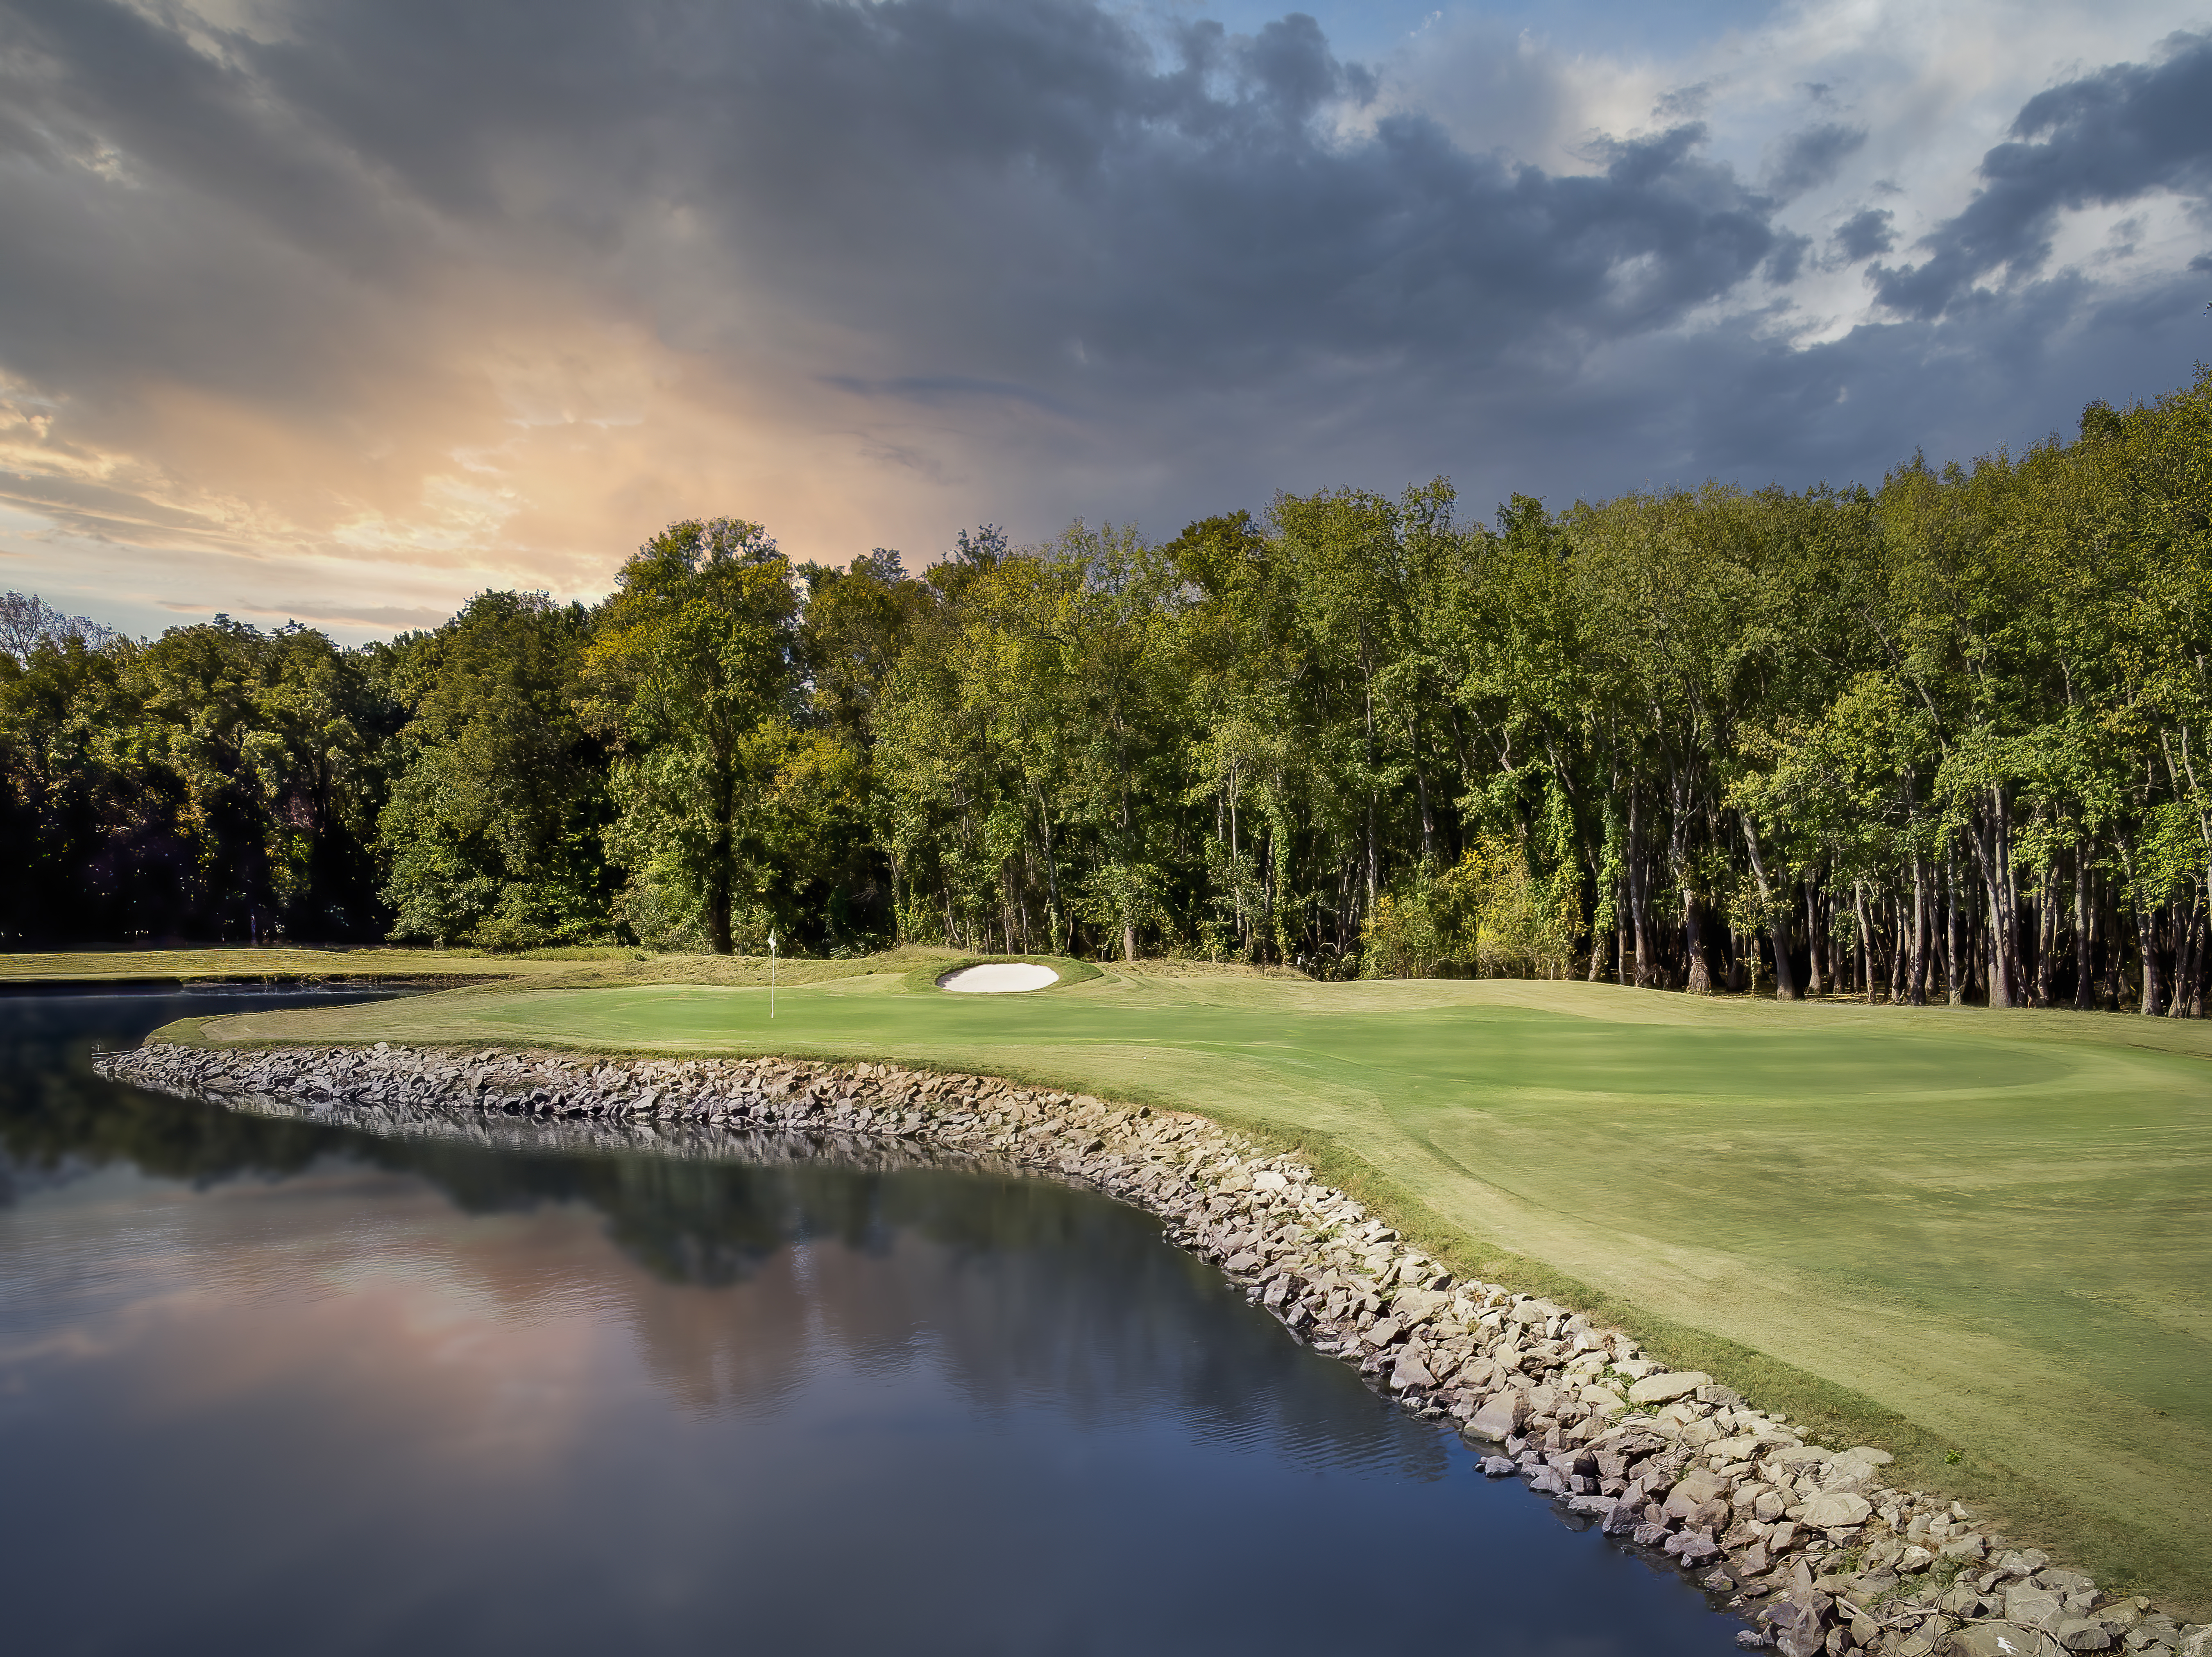
This is one of the most difficult Par 3's in The Natural State. You must carry your ball over water and two bunkers to find the green. Just don't miss right into the Arkansas River.
Pro Tip: Play aggressively to the left hole location, but careful with the right hole location.
Par 3
Black 219 yards
Blue 203 yards
White 170 yards
Green 155 yards
Red 117 yards
Gold 113 yards
Pro Tip: Play aggressively to the left hole location, but careful with the right hole location.
Par 3
Black 219 yards
Blue 203 yards
White 170 yards
Green 155 yards
Red 117 yards
Gold 113 yards
Hole #18
This dogleg left par 4 is a tough finishing hole. Watch for out of bounds on both sides of the fairway and behind the green.
Pro Tip: Aggressive players will aim their tee shot at the cart path, where the hole turns to the left and leaves you an uphill approach shot.
Par 4
Black 429 yards
Blue 414 yards
White 390 yards
Green 349 yards
Red 305 yards
Gold 299 yards
Pro Tip: Aggressive players will aim their tee shot at the cart path, where the hole turns to the left and leaves you an uphill approach shot.
Par 4
Black 429 yards
Blue 414 yards
White 390 yards
Green 349 yards
Red 305 yards
Gold 299 yards